You can tackle a car headliner replacement with basic tools and patience. Many drivers save up to $500 by handling car head liners themselves instead of paying professional quotes that often exceed $1,000. Most projects finish within a day, soos hieronder getoon:
| Voertuig tipe | Geskatte Tyd |
|---|---|
| Standard Headliner | 2– 4 uur |
| Groter voertuie | 4– 6 uur |
| With Sunroof Cutouts | 4– 6 uur |
With careful steps, you achieve a professional look and freshen your interior.
Stap-vir-stap gids om jou motorkop reg te maak
- Replacing your car headliner can save you up to $500 compared to professional services. Met basiese gereedskap en geduld, you can achieve a professional look in just a few hours.
- Gather the right materials before starting. Gebruik specialty headliner fabric and a strong adhesive designed for automotive use to ensure a smooth finish and prevent sagging.
- Take your time during the removal and installation process. Organize parts, work gently, and always start attaching fabric from the center to avoid wrinkles.
Prepare to Replace a Headliner
Motorkopvoerings: Gereedskap en materiale
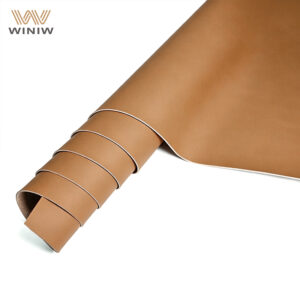
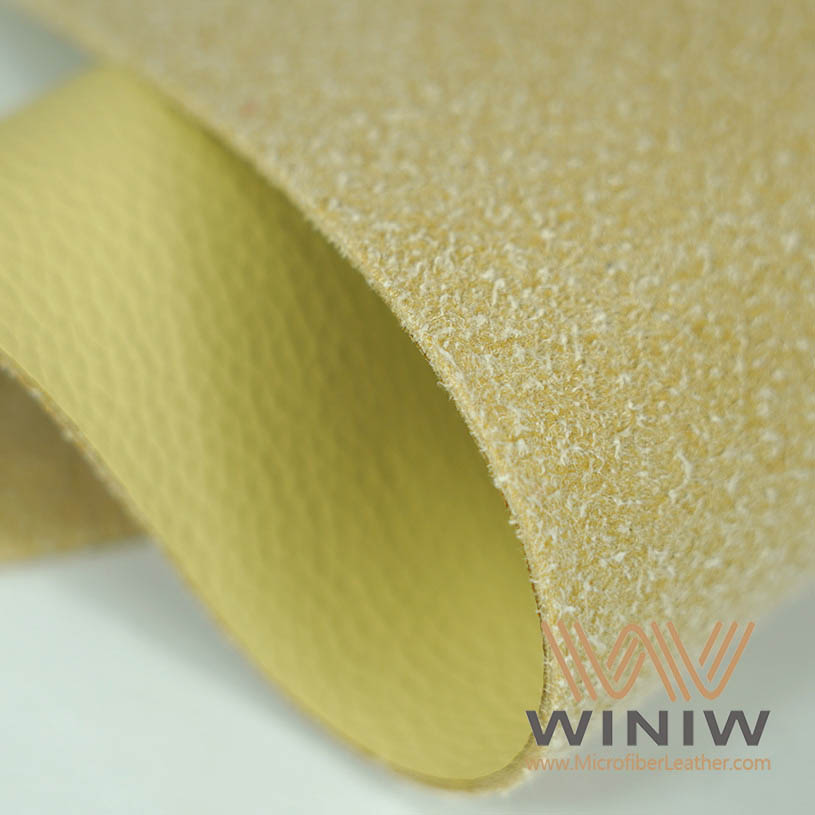
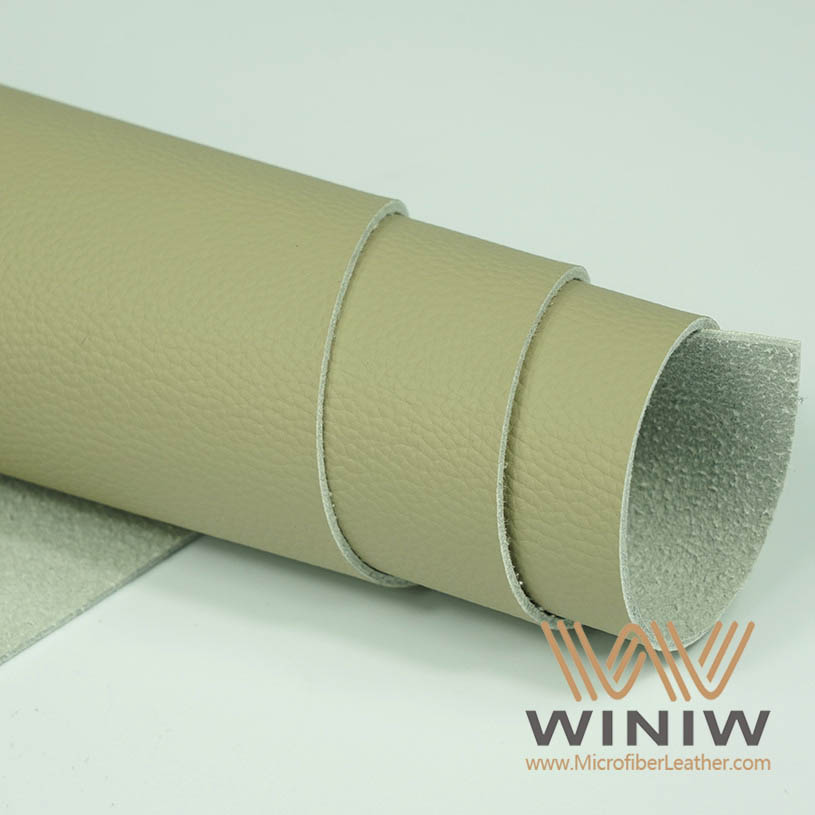
You need the right tools and materials to achieve a smooth finish when replacing car head liners. Kies 'n specialty headliner fabric, such as knit or microsuede, for easy installation and a factory-like look. Vinyl and woven cloth offer unique styles but require careful handling. Gather these items before you start:
- Headliner material (available at upholstery supply stores)
- Sewing shears and razor blades
- Chalk for marking cut lines
- Contact cement (high-heat versions work best)
- Spray gun for adhesive application
Consider the benefits of fabric upholstery, including versatility, troos, en kostedoeltreffendheid. Select an adhesive designed for car headliner installation to avoid sagging or wasted materials.
| Produk Naam | Beskrywing |
|---|---|
| 3M™ Headliner-kleefmiddel | Uitsonderlike sterkte bind swaargewig motorkopstukke. Droog in 30 aan 60 minute. |
| 3M™ Headliner & Stof gom 38808 | Recommended for automotive headliners. Dries clear and has an adjustable nozzle. |
| AlbaChem Headliner Adhesive | Delivers a strong bond for headliners, suitable for automotive and upholstery applications. |
Verwyder trim en bykomstighede
You must remove trim and accessories carefully to prevent damage. Use a heat gun or hair dryer to loosen adhesives. A plastic razor or putty knife helps pry off trim without scratching surfaces.
Warming the trim with a hair dryer or heat gun can help loosen it. Daarna, you can peel it off, but some adhesive may remain, which can be removed with adhesive removers like Goo Gone.
Organize screws and label parts as you remove them. Avoid breaking trim pieces or end caps, and learn how each piece is fastened before prying.
- Breaking trim pieces leads to replacement costs.
- Not understanding fasteners complicates removal.
- Failing to label parts causes confusion during reassembly.
Detach the Headliner Board
Follow these steps to detach the car headliner board safely:
- Pry off all trim surrounding the headliner.
- Remove seatbelt covers, ligte, sprekers, visiere, en klerehangers.
- Unclip any clips holding the board in place.
- Slide the board out and place it on a flat surface.
Tilt one side down and protect the board from scraping. Take your time and avoid folding or creasing the board. Removing seats may help if space is limited.
Install New Car Head Liner Material
Remove Old Fabric and Clean Board
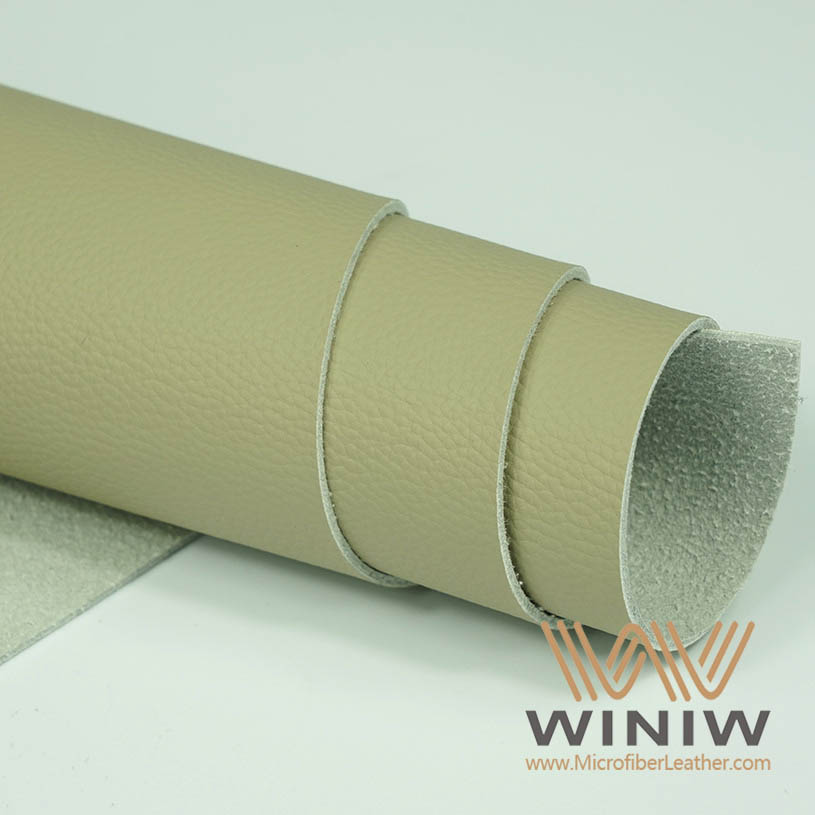
Start by peeling away the old fabric from the headliner board. You will likely see dried foam dust left behind. Use a large wire brush to loosen this foam, then gently vacuum the board to remove all debris. Make sure you brush and vacuum thoroughly. Any leftover foam or adhesive can cause lumps or wrinkles when you install the new material.
Wenk: Always work gently to avoid damaging the board. If you see stubborn spots, use a soft-bristled brush and a dedicated automotive fabric cleaner. Avoid harsh chemicals and do not soak the board, as too much moisture can weaken the adhesive and damage the board.
For quick cleaning, use a soft microfiber cloth. As jy moeilike vlekke moet aanpak, a mild soap solution works in emergencies, but automotive fabric cleaners are safer. Never use excessive moisture, and avoid strong chemicals that might harm the board or future adhesive.
Pre-fit and Attach New Fabric
Lay your new hooflyn stof face-down, with the foam side up. Place the board on top and check the alignment. Dry-fit the fabric to make sure it covers every edge. Fold half of the fabric back, then spray both the foam and the board with an even coat of adhesive. Wag totdat die gom klewerig voel.
Begin om die stof vanaf die middel van die bord vas te maak. Use light tension and smooth the fabric outward toward the edges. A plastic spreader or a soft cloth helps press the fabric down and remove air bubbles. Work in small sections to control wrinkles and keep the fabric aligned.
Probleemoplossing: If you see bubbles or wrinkles, gently lift the fabric while the glue is still tacky and reset it. Always smooth from the center out. Apply only a thin layer of adhesive to prevent it from soaking through the fabric.
Common causes of wrinkles or sagging include heat, ouderdom, en vog. High temperatures can break down the foam, while moisture can weaken the adhesive. To avoid these issues, work in a well-ventilated area and keep the adhesive layer thin.
Trim Edges and Reinstall Board
Once the fabric is secure, use kitchen scissors or a utility knife to trim excess material along the edges. Needle-nose pliers can help with tight corners. Cut holes for lights, visiere, and other accessories before reinstalling the board.
Return the headliner board to your car, tilting it carefully to avoid creasing. Tuck the fabric in for clean edges. Replace all trim, ligte, and accessories in the reverse order of removal. Organize your screws and parts for a smooth reassembly.
Let wel: To prevent future sagging, park your car in the shade and check rubber seals for leaks. Keep kids and pets from pulling at the headliner. If you use a steam cleaner, apply gentle pressure.
Wanneer jy klaar is, consider recycling your old car head liners. Many plastics used in car headliner replacement can be recycled, omgewingsimpak te verminder. Some manufacturers use bio-based materials or structured disposal programs to handle waste efficiently.
| Gereedskap | Gebruik |
|---|---|
| Kitchen scissors | Sny oortollige stof |
| Nutsmes | Cutting holes for accessories |
| Needle-nose pliers | Handling tight corners |
| Vakuum | Cleaning foam dust |
| Spray glue | Attaching new fabric |
| Clothing iron | Smoothing stubborn wrinkles (if needed) |
Deur hierdie stappe te volg, you can replace a headliner and achieve a professional finish. Neem jou tyd, work carefully, and enjoy your refreshed car headliner. If you ever need to do headliner repair again, you will have the skills and confidence to handle it.
You can fix your car headliner with patience and the right tools. Remember these common mistakes many DIYers report:
- Not creating a template before removing the old headliner
- Rushing adhesive application
- Failing to start from the center when attaching fabric
Take your time and enjoy your refreshed motor binnekant. You will achieve a professional look.
Gereelde vrae
Hoe lank neem dit om 'n motorkop te vervang?
You can finish most headliner replacements in 2 aan 6 ure. The time depends on your vehicle size and your experience level.
Kan jy die ou opskrifbord hergebruik?
Ja, you can reuse the old board if it stays intact. Clean it well and remove all old foam before applying new fabric.
What should you do if the new fabric wrinkles?
Gently lift the fabric while the glue is still tacky. Smooth it out from the center. Work slowly to avoid new wrinkles.