Removing and installing a car headliner at ev saves money and builds confidence. Most people can complete the project with basic tools and careful steps. Good preparation prevents mistakes and injury. The table below shows typical savings for car head liners when doing the work yourself:
| Xidmət növü | DIY dəyəri | Peşəkar xərc |
|---|---|---|
| Baş laynerin yenidən qoşması | $30 – $80 | $200 – $600 |
Əsas Çıxarışlar
- Removing and installing a car headliner pulunuza qənaət edə bilər, reducing costs from over $1,000 to as little as $50.
- Gather all necessary tools and materials before starting to ensure a smooth and efficient process.
- Take your time during each step, especially when applying adhesive and reinstalling trim, to achieve a professional-looking result.
Car Head Liners Tools and Prep
Alətlər və Materiallar
Before starting, hamısını toplayın tools and materials needed for a smooth headliner replacement. Having everything ready will help you avoid delays and mistakes. Here are the most common items required:
- Plastik trimləri çıxarmaq üçün alətlər
- Tornavidalar (Phillips və düzbaş)
- Allen və ya altıbucaqlı açarlar
- İğnəli burun kəlbətinləri
- Utility knife or fabric scissors
- Yumşaq tüklü fırça
- Ölçü lenti
- Sprey yapışqan (such as 3M)
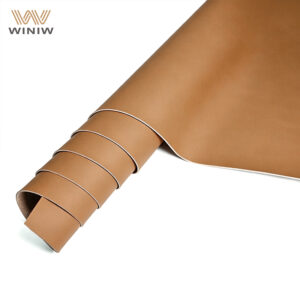
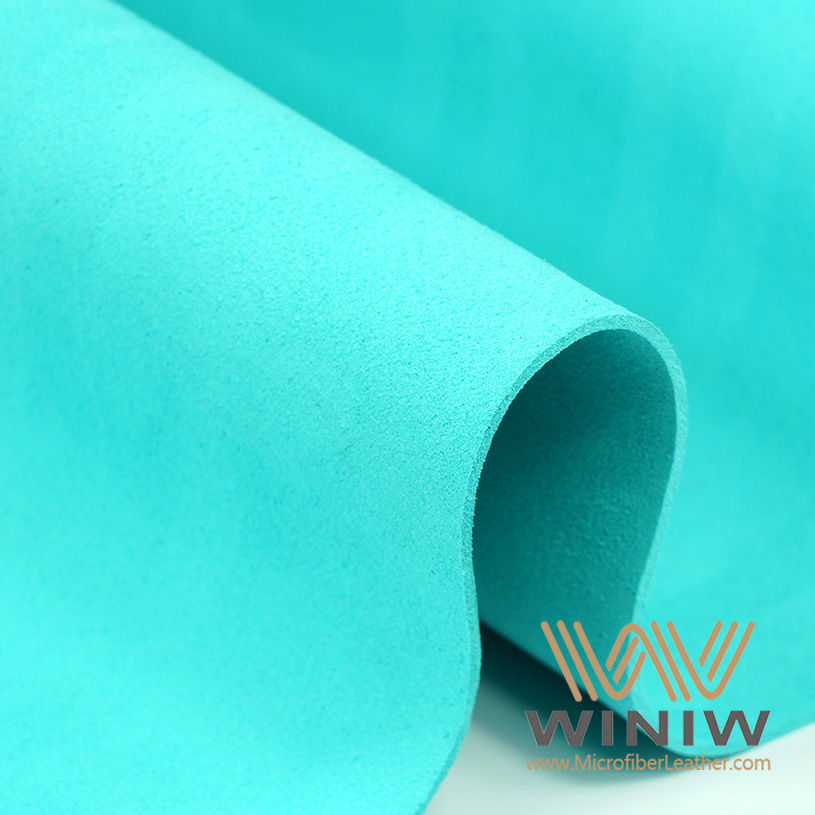
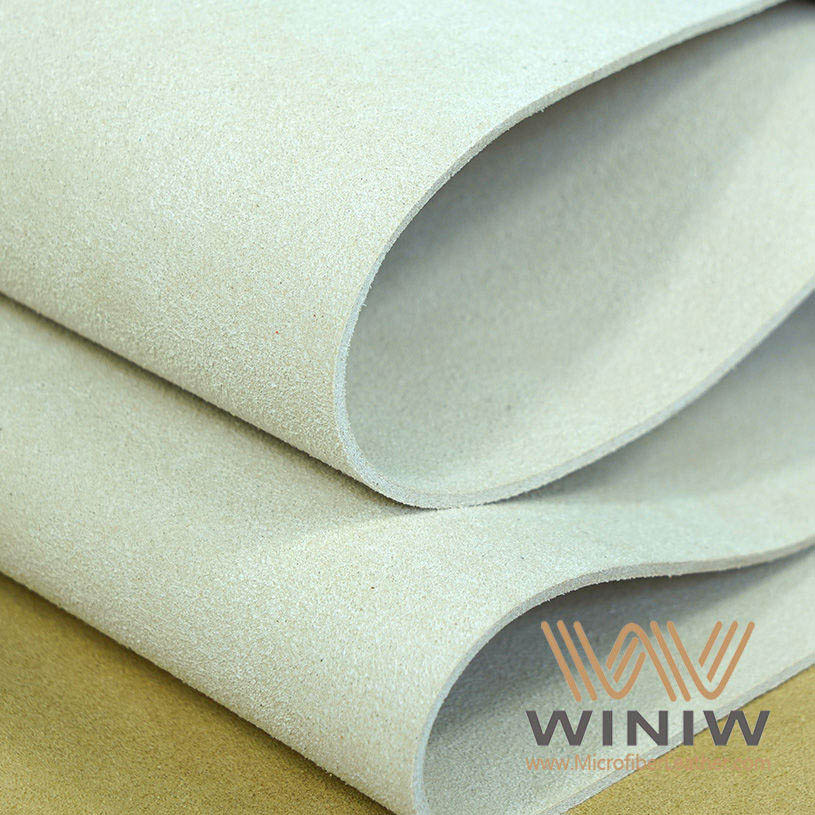
- Yeni başlıq parça (automotive-grade with foam backing)
- Binder clips or clamps
- Miscellaneous clips and retainers
İpucu: Choose an automotive-grade headliner fabric with a foam backing. This type of material is designed to handle temperature changes inside a car and will last longer than household fabrics. OEM fabrics offer a precise fit and better durability, while aftermarket options provide more customization but may vary in quality.
Workspace Preparation
A clean and organized workspace is essential for safety and efficiency. Follow these steps to prepare your area and vehicle:
- Wear safety goggles and gloves to protect against dust and adhesive fumes.
- Disconnect the vehicle battery to prevent electrical shock or accidental airbag deployment.
- Ensure proper ventilation. Use a fan to move air and do not rely only on open windows. Good airflow reduces the risk of dizziness or headaches from spray adhesive fumes.
- Lay down drop cloths or blankets to protect your car’s interior from spills and scratches.
- Organize all tools and materials within easy reach to avoid unnecessary movement.
- Inspect the area for sharp objects or debris that could damage the upholstery.
- Keep a first aid kit nearby for minor injuries.
Qeyd: Taking time to set up your workspace and gather all supplies before starting will make the process smoother and safer.
Remove and Install Car Headliner
Köhnə baş layneri çıxarın
Removing a car headliner requires patience and careful handling to prevent damage to the vehicle’s interior. Follow these steps for a safe and efficient removal:
- Pry off all trim pieces that surround the car headliner. Use plastic trim tools to avoid scratching surfaces.
- Detach seatbelt covers, günbəz işıqları, natiqlər, günəş gözlükləri, və paltar asılqanları. Place all screws and clips in labeled containers for easy reassembly.
- Remove the upper A, B, and C pillar panels if your vehicle has them. This step ensures the headliner board can move freely.
- Unclip any fasteners holding the headliner board in place. Check for hidden clips near the windshield and rear window.
- Carefully slide the headliner board out of the vehicle. Lay it flat on a clean surface to prevent bending or cracking.
- Peel off the old fabric from the headliner board. Work slowly to avoid tearing the board.
İpucu: Sökülmə zamanı fotoşəkilləri çəkin. These will help you remember the correct placement of trim and hardware during reinstallation.
Təmiz başlıq lövhəsi
Proper cleaning of the headliner board is essential for a successful headliner replacement. Any leftover foam or adhesive can prevent the new fabric from sticking well.
- Gather cleaning supplies: stiff-bristled brush, upholstery cleaner, wet vacuum, əlcəklər, mikrofiber dəsmallar, and a spray bottle.
- Gently scrub the board with a stiff-bristled brush to remove old foam and debris. Avoid using excessive force, as the board can be fragile.
- Spray upholstery cleaner onto the brush or towel, birbaşa lövhəyə deyil.
- Kiçik istifadə edin, kir və yapışqan qalıqlarını qaldırmaq üçün dairəvi hərəkətlər.
- İnadkar ləkələr üçün, use a wet vacuum or spot cleaner to extract dirt.
- Quru mikrofiber dəsmal ilə artıq nəmi silin.
- Lövhənin ən azı havada qurumasına icazə verin 24 hours in a well-ventilated area.
Qeyd: Təmiz, dry board ensures the adhesive bonds properly during headliner replacement.
Cut and Attach New Fabric
Applying new fabric is the most visible part of the process. Careful preparation and technique will help you achieve a smooth, peşəkar görünüş.
- Choose an automotive-grade fabric with foam backing for durability and a proper fit.
- Measure the headliner board and cut the new fabric, leaving an extra inch on all sides.
- Dry-fit the fabric on the board to check alignment before applying adhesive.
- Select a high-quality spray adhesive, such as 3M Super 77 or DAP Weldwood HHR. These adhesives provide a strong, quick-drying bond.
Steps for attaching the new fabric:
- Work in small sections. Spray adhesive evenly on both the board and the back of the fabric. Yapışqan yapışqan hiss olunana qədər gözləyin.
- Starting at the center, gently lay the fabric onto the board. Smooth outward toward the edges with your hands or a soft roller.
- Keep tension light to avoid stretching or wrinkling the fabric.
- If bubbles or wrinkles appear, carefully lift the fabric while the glue is still tacky and reset it.
- Continue working in halves or quarters until the entire board is covered.
- Trim excess fabric with a utility knife or scissors once the adhesive has set.
İpucu: Test your adhesive and fabric on a small scrap piece before starting the main application. This helps you adjust your technique and avoid mistakes.
Reinstall Headliner and Trim
Reinstalling the car headliner requires attention to detail to ensure a secure and neat finish.
- Slide the finished headliner board back into the vehicle. Align it with the mounting points.
- Temporarily secure the board with rubber-coated spring clamps if needed.
- Tuck the edges of the headliner behind the windshield gasket and door seals.
- Reinstall all trim pieces, starting with the pillar panels, then the visors, günbəz işıqları, and other hardware.
- Replace any insulation or sound-deadening material if it was removed.
- Double-check that all clips and screws are tight and that the headliner sits flush against the roof.
İpucu: Use a pick tool to help align holes for sun visors and lights. Take your time to avoid damaging the new fabric.
Məsləhətlər və Problemlərin aradan qaldırılması
Diqqətli iş olsa belə, issues can arise during headliner replacement. Here are common problems and solutions:
- Sagging or bubbles: Remove the headliner and clean the board thoroughly. Use a high-quality spray adhesive designed for car head liners. Apply adhesive in small sections and smooth the fabric as you go.
- Qırışlar: Gently lift the fabric while the adhesive is still tacky and reset it. Use a paint roller or steam to help smooth out bubbles.
- Loose edges: Secure with upholstery pins as a temporary fix. For a permanent solution, inject adhesive under the edge with a small syringe.
- Gaps or misalignment: Double-check your measurements and alignment before final trimming. Patience during installation prevents most fitment issues.
Qeyd: If you encounter persistent problems, seek advice from online forums or instructional videos. Many DIYers share tips and solutions for car head liners.
Time Commitment:
Most DIY car headliner replacement projects take between 2 və 4 saat. Larger vehicles or complex interiors may require up to 6 saat.
Davamlılığın müqayisəsi:
| Quraşdırma növü | Davamlılıq Faktorları | Nəticə |
|---|---|---|
| Peşəkar | High-quality materials, precise techniques | Better durability outcomes |
| DIY | Potential misalignment, gaps, göz yaşları | Lower durability outcomes |
İpucu: Replacing headliners yourself can be satisfying and cost-effective. Lakin, professional installations may last longer due to experience and specialized tools.
Final Thought:
Headliner repair and replacement can be a rewarding project. Careful preparation, patience, and attention to detail will help you achieve a result that looks great and lasts for years.
Replacing a car headliner yourself offers real savings, often reducing costs from over $1,000 to as little as $50. This method also lets you choose materials that match your style. Vaxtınızı ayırın, follow each step, and enjoy the satisfaction of a job well done. For more help, review the FAQs.
Tez-tez verilən suallar
Avtomobilin tavan örtüyünün dəyişdirilməsi nə qədər vaxt aparır?
Ən çox DIY headliner replacements take 2 üçün 4 saat. Larger vehicles or complex interiors may require up to 6 saat.
Can I reuse the old headliner fabric?
Reusing old fabric is not recommended. Old material often stretches, sags, or tears during removal. New automotive-grade fabric gives better results.
What adhesive works best for car headliners?
İpucu: Use a high-quality spray adhesive like 3M Super 77 or DAP Weldwood HHR. These adhesives provide strong bonds and resist heat inside vehicles.