You can tackle installing suede revêtement de voiture as a diy project with the right mindset and preparation. Clean all surfaces before starting, use recommended tools, and pay attention to safety features. Temperature matters for flexibility, so plan accordingly. Following instructions and working carefully help you avoid common mistakes and achieve a smooth finish.
Guide étape par étape pour installer vous-même un revêtement de voiture en daim
- Rassemblez tout outils et matériels nécessaires before starting your project. This preparation helps you work efficiently and avoid interruptions.
- Clean all surfaces thoroughly to ensure proper adhesion. A clean surface is crucial for a durable and attractive finish.
- Suivez un processus étape par étape for installation, starting from removing old upholstery to applying adhesive and fitting the new suede. This method helps achieve a professional look.
Prepare for Suede Car Upholstery
Outils et matériaux nécessaires
You need to gather all the outils et matériels nécessaires before you start your diy project. Having everything ready helps you work efficiently and avoid interruptions. Here is a checklist to guide you:
- Ciseaux
- Couteau utilitaire
- Adhesive spray
- Staple gun
- Mètre à ruban
- Foam backing (optional for added comfort)
- Screwdrivers and pliers for removing old upholstery
Make sure you select high-quality produits. Using the right necessary tools and materials ensures a smooth installation and a professional finish for your suede car upholstery.
Workspace Setup and Safety
Setting up a safe and organized workspace is essential. Choose a flat area like a garage floor or driveway. Keep your workspace clean to prevent accidents and make it easier to find your tools. Safety should always come first. Tu devrais:
- Wear work gloves and nitrile gloves to protect your hands from chemicals and sharp objects.
- Use safety glasses to shield your eyes.
- Put on a long-sleeve shirt to protect your arms.
- Consider ear protection if you use loud tools.
- Use a ventilator if you work with strong adhesives.
- Check local laws about workspace usage to avoid legal issues.
A well-prepared workspace helps you focus on the installation and reduces the risk of injury.
Surface Cleaning and Prep
Cleaning all surfaces thoroughly is crucial for proper adhesion and the longevity of your suede car upholstery. Utiliser doucement, non-abrasive cleaning methods to maintain the texture of the suede. Avoid household cleaners that leave excess moisture, as this can cause water spots or mold. Proper cleaning prevents damage and helps the adhesive bond securely, giving your upholstery a durable and attractive finish.
Conseil: Take your time with cleaning. A clean surface makes the difference between a lasting result and early wear.
Remove and Install Suede Car Upholstery
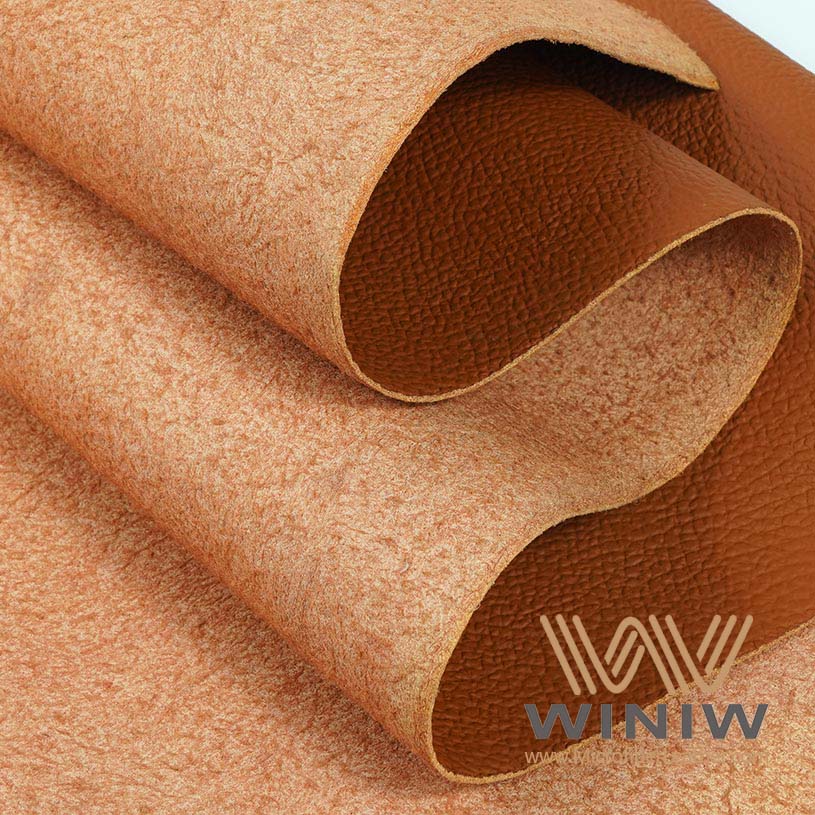
Remove Old Upholstery
You need to start the installation process by removing the old upholstery from your car seats and panels. This step sets the foundation for a successful diy project. Use screwdrivers and pliers to detach seat covers, trim pieces, and any fasteners. Work slowly to avoid damaging the underlying surfaces. Different materials require different techniques:
- For cloth upholstery, use a fabric-safe cleaner and avoid scrubbing hard.
- Pour le vinyle, wipe with a damp cloth and avoid abrasive tools.
- Pour le cuir, use pH-balanced conditioners and avoid harsh detergents.
- For synthetic fabrics, spot-treat stains and avoid soaking.
- For microsuede or Alcantara, use cleaners labeled safe for the material and avoid aggressive rubbing.
After removing the old material, clean all surfaces thoroughly. This step prevents adhesive failure and ensures the new suede car upholstery bonds securely.
Conseil: Take photos during removal. These will help you remember how to reassemble each part.
Measure and Cut Suede Fabric
Accurate measurements are critical for a professional finish. Use a measuring tape to record the seat geometry, foam density, and frame rigidity. These factors affect how the suede fits and feels over time. Refer to the table below for key measurements:
| Measurement Type | Description |
|---|---|
| Seat Geometry | The overall shape and dimensions of the seat, crucial for ensuring proper fit. |
| Foam Density | The density of the foam affects comfort and support, impacting how the suede fits over time. |
| Frame Rigidity | The strength and stability of the seat frame, which influences how well the suede holds its shape. |
| Real-World Fit Verification | Testing the fit in actual conditions to ensure compatibility and comfort before finalizing. |
Always measure the mounting hole spacing, seat depth from the front edge to the backrest hinge, and check the maximum recline angle. Lay out the suede tissu de ciel de toit and mark your measurements before cutting. Use sharp scissors or a utility knife for clean edges. Double-check each piece before moving to the next installation steps.
Apply Adhesive and Fit Suede
Choose a high-quality adhesive for the installation process. Barge All Purpose Cement and Petronio’s Master All-Purpose Cement work well for securing suede car upholstery. These adhesives offer strong bonding and flexibility, which are important for automotive interiors. Spray or brush a thin, even layer on both the surface and the back of the suede. Let the adhesive sit for 5–10 minutes until it becomes tacky.
Start fitting the suede from the center and smooth it outward. This technique helps prevent wrinkles and bubbles. Use a roller or flat tool to apply pressure, working from the center out to eliminate air pockets. Pour surfaces courbes, make small relief slits in the suede to avoid bunching and ensure a snug fit.
Note: The 3M™ Headliner Adhesive dries in 30 à 60 minutes, depending on temperature and humidity. Allow adhesives to cure fully—typically 24 hours—before exposing your project to moisture or stress.
Garniture, Tuck, and Finish Edges
Once the suede is in place, trim excess material with a utility knife or scissors. Tuck the edges under trim pieces or into seams for a clean look. Leave a small border to account for shrinkage. Use a staple gun or adhesive to secure the edges if needed. Work in sections to manage the fabric more easily and keep it taut.
Conseil: Use a heat gun or steam to relax fibers and smooth out minor wrinkles. Stretch the fabric gently as you work to maintain a smooth surface.
Install Suede Headliner
You can install garniture de toit en daim fabric to upgrade your car’s interior. Follow these installation steps for a diy garniture de toit de voiture en daim:
- Remove trim pieces, pare-soleil, map lights, plafonniers, and roof handles.
- Clean the headliner board thoroughly to remove old foam and adhesive.
- Lay the suede headliner fabric over the board and cut it to size.
- Mark attachment points and holes before applying adhesive.
- Appliquez une fine, even layer of glue to both the board and the back of the suede.
- Wait until the adhesive becomes tacky before pressing the suede onto the board.
- Start from the center and work outward to avoid bubbles.
- Trim excess fabric once the suede is securely attached.
- Reinstall the headliner and all accessories carefully.
Common challenges during diy suede car headliner installation include wrinkles, bulles, and lifting. Work in sections and stretch the fabric to keep it taut. Trim excess fabric while leaving a small border for shrinkage. Use a heat gun or steam to soften minor wrinkles and reapply adhesive if needed.
Final Inspection and Troubleshooting
Inspect your completed suede car upholstery for quality. Vérifiez la fluidité, sieste constante avec une douce, sensation veloutée. The material should bend easily without cracking and withstand regular use. Ethical sourcing and sustainable practices add value to your project. Use the table below to guide your inspection:
| Critères | Description |
|---|---|
| Texture | Lisse, sieste constante avec une douce, sensation veloutée |
| Flexibilité | Bends easily without cracking |
| Durabilité | Résiste à une utilisation régulière, ensuring longevity |
| Environmental Sustainability | Ethical sourcing and sustainable practices increase product value |
If you encounter issues like adhesive seepage, bouillonnant, or detachment, refer to the troubleshooting table:
| Problème | Cause | Solution |
|---|---|---|
| Adhesive Seepage | Untreated porous fabric | Back suede or use Heat ‘n Bond |
| Bubbling | Insufficient pressure/tack | Reapply adhesive, press firmly with roller, allow to set |
| Detachment | Dirty surface/improper priming | Faire le ménage, reprime, and reattach with fresh adhesive |
Let adhesives cure fully before exposing your diy project to moisture or stress. Seal edges and consider waterproofing for added protection. Use a roller to press the suede firmly, working from the center out. These steps help you achieve a professional finish and enjoy your upgraded interior.
You can take pride in your upgraded intérieur de voiture. Careful installation and regular maintenance help suede upholstery look great and last longer.
- Brush weekly with a soft brush.
- Épongez doucement les taches.
- Clean professionally every few months.
- Share your results or questions for support.
| Coût du bricolage (par siège) | Pro Cost (par siège) |
|---|---|
| $80–$150 | $300–600$ |
Upgrading your upholstery can increase resale value and give your car a modern look.

FAQ
How do you keep suede car upholstery clean?
You should vacuum weekly with a soft brush. Épongez immédiatement les déversements. Use a suede-specific cleaner for stains. Évitez de tremper le matériau.
Can you install suede upholstery over old fabric?
You should remove old upholstery first. This step ensures proper adhesion and prevents uneven surfaces. Clean the base before applying new suede.
What is the best adhesive for suede car interiors?
You can use 3M™ Headliner Adhesive or Barge All Purpose Cement. These adhesives provide strong bonds and flexibility for automotive use.