Yes, you can install a Headliner Black Suede in your car using basic tools and patience. You do not need special skills. This project suits beginners. Gather all needed supplies before you start. Work in a well-ventilated area for safety and comfort. Take your time for the best results.
How to Install a Black Suede Headliner in Your Car Easily
- Gather all necessary tools and materials before starting your headliner project. This preparation ensures a smooth installation process.
- Take your time during the adhesive application to avoid bubbles and misalignment. A careful approach leads to a professional finish.
- Reinstall the headliner carefully, aligning it with marked points. This step ensures a snug fit and enhances the overall look of your car.
Headliner Black Suede Install Guide
Tools and Materials for Suede Headliner
When you start your install guide for a suede headliner, you need the right tools and materials. A successful install guide always begins with preparation. For your suede headliner project, gather these essentials:
- Spray adhesive (automotive grade)
- Sharp knife or scissors
- Clean microfiber cloth
- Stiff brush or vacuum cleaner
- Flat and Phillips screwdrivers
- Socket wrench set
- Plastic trim removal tools
- Allen or hex wrenches
- Needle nose pliers
- Automotive headliner clip removal tool
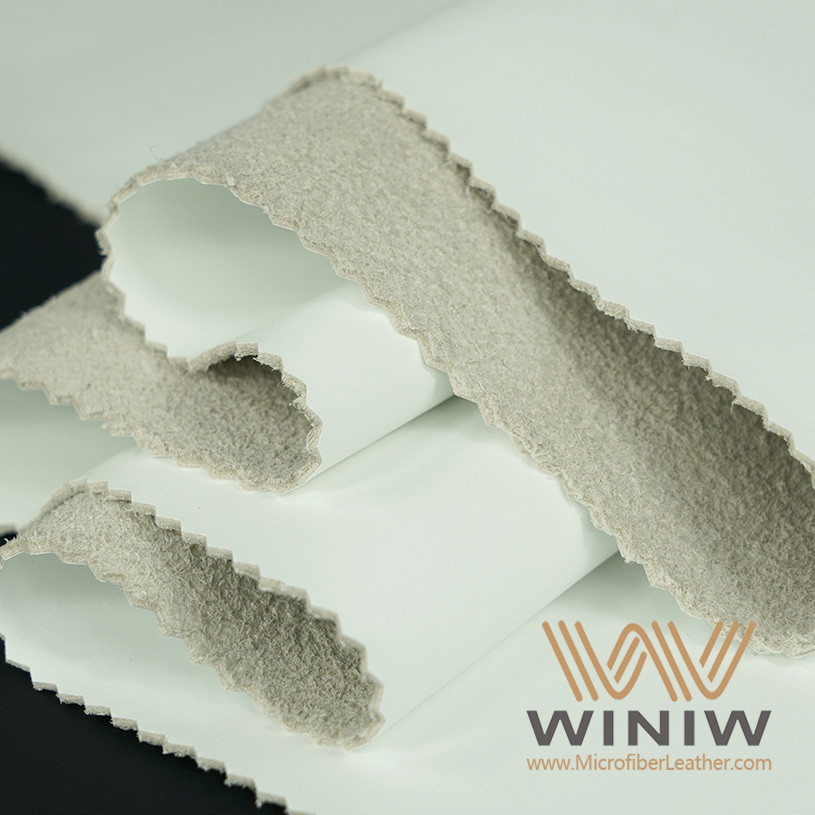
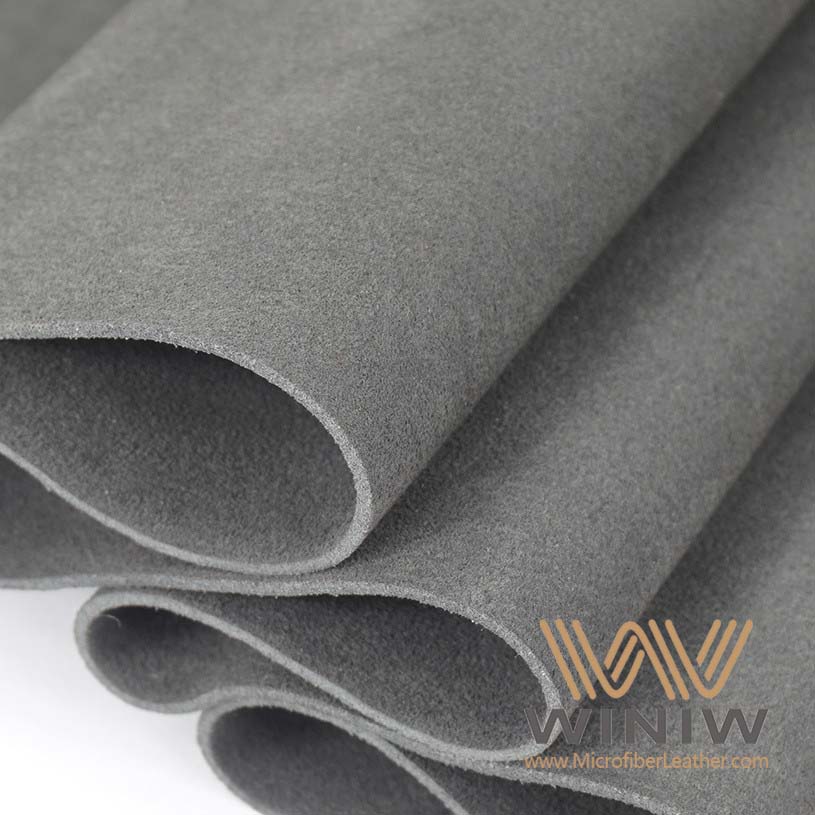
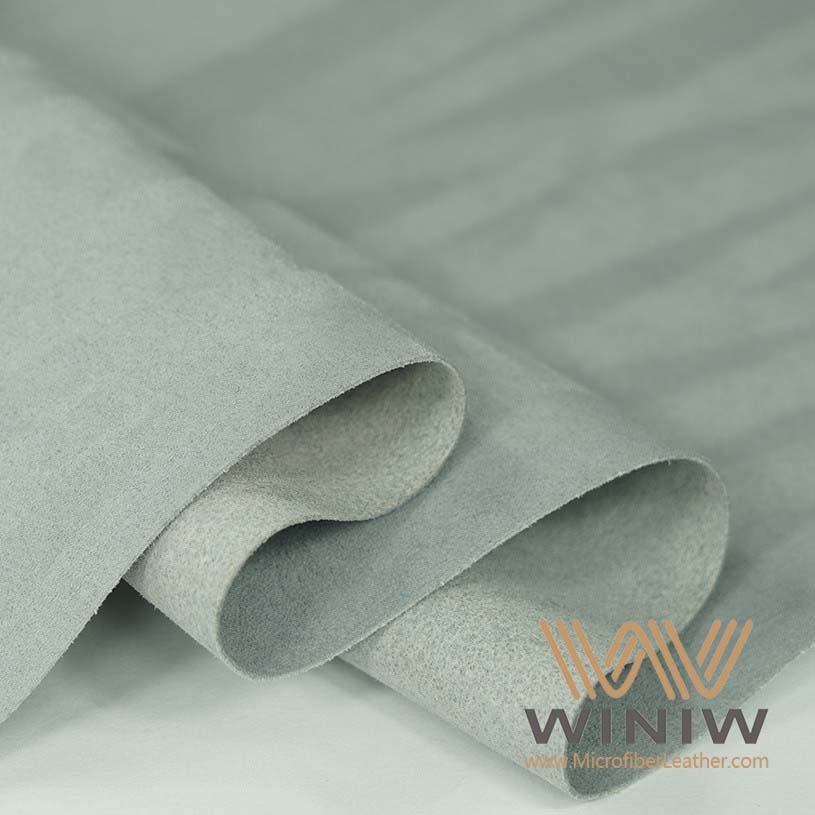
Choose a high-quality stretch black suede headliner fabric. Many installers recommend 8 Way Stretch Suede Headliner. This material comes foam backed, 60 inches wide, and works well for automotive projects. Select a spray adhesive designed for headliners to ensure your install guide delivers lasting results.
Tip: Always check that your suede headliner fabric matches your car’s interior before you begin the install guide.
Preparing Your Car for Installation
A smooth install guide for your suede headliner starts with workspace prep. Fold down the seats to create more room. Remove the headrest and fold the driver’s side rear seat flat. Use a 10mm socket and ratchet to remove three bolts for better access. For the A-pillar covers, use a small flat tip tool to take off the covers on the hand hold. Remove the two bolts with your socket and ratchet, then pull the hand hold out. Wedge your fingers between the top of the pillar cover and the headliner, pulling the cover away. Rock the cover front to back to detach it from the dash.
A clean workspace helps your install guide go smoothly. Vacuum the area and wipe down surfaces with a microfiber cloth. This step ensures your suede headliner adheres properly and your install guide produces a professional finish.
Black Suede Headliner Step-by-Step Install
Remove Old Headliner
Start your headliner black suede project by removing the old headliner from your car. This step takes patience and care. Most beginners wonder if they need to buy a new headliner or can reuse the old one. You can usually reuse the original board unless it is damaged. Removing the headliner from a standard sedan takes between 1 to 4 hours, depending on your experience and the vehicle model.
Follow these steps to remove the old headliner:
- Disconnect the battery to avoid electrical issues.
- Remove all trim pieces, visors, dome lights, and grab handles attached to the headliner.
- Carefully lower the headliner board and slide it out of the car through a door or trunk.
Tip: Keep all screws and clips in a small container so you do not lose them during the install.
When you finish, dispose of the old headliner and adhesive materials responsibly. Many adhesives contain chemicals that can harm the environment. Check local guidelines for hazardous waste disposal. Some recycling programs accept these materials, which helps reduce pollution and keeps your workspace safe.
Mark and Drill Headliner Board
Before you install the new headliner black suede, inspect the board for damage. If you find cracks or weak spots, repair them with a strong adhesive or replace the board. Use a marker to outline all mounting points, holes for lights, and cutouts for handles. Marking these spots now makes reinstallation easier later.
If you need to drill new holes or widen existing ones, use a drill with a small bit. Work slowly to avoid damaging the board. Always double-check your marks before drilling. This step ensures that everything lines up perfectly when you reinstall the headliner.
Apply Adhesive and Attach Suede Fabric
Now you are ready to install the headliner black suede fabric. Lay the board on a flat, clean surface. Cut the suede fabric, leaving a few extra inches around the edges. This extra material helps you stretch and secure the fabric during the install.
Spray both the board and the back of the suede fabric with high-quality adhesive. Wait until the adhesive becomes tacky. This step creates a strong bond and prevents sagging over time. For best results, use these adhesive application techniques:
- Start from the center of the board and smooth the fabric outward. This method eliminates air bubbles and prevents wrinkles.
- Work in small sections. This approach gives you better control and helps manage the fabric more easily.
- Keep the suede fabric stretched while you work. Stretching the material prevents wrinkles and sagging.
- Use a roller or flat edge, like a credit card, to press the fabric down and remove air pockets.
- If you see a bubble, gently lift the fabric and reapply before the adhesive sets.
Note: Rushing this step can lead to bubbles or misalignment. Take your time and work slowly for a smooth finish.
Align and Secure Suede Headliner
Once you have attached the fabric, check that it is smooth and free of wrinkles. Keep the fabric taut as you work around curves and edges. Use your hands or a roller to press the fabric firmly into place. Trim any excess fabric, leaving a small border to allow for shrinkage after installation.
To secure the edges and prevent peeling over time:
- Allow the adhesive to become tacky before pressing the fabric down.
- Spray both the board and the fabric for a stronger bond.
- Press down on all edges and corners, checking for any loose spots.
- Mark all mounting points before trimming the fabric. This step makes it easier to reinstall the headliner and trim pieces.
If you notice minor wrinkles, use a heat gun or handheld steamer to relax the fibers. Hold the tool a few inches away and move it gently over the area. For stubborn wrinkles, lift the fabric, reapply adhesive, and smooth it again.
Reinstall Headliner and Trim
After the adhesive has set and the fabric looks smooth, you are ready to reinstall the headliner black suede board in your car. Carefully slide the board back into place. Align it with the mounting points you marked earlier. Reattach all trim pieces, visors, dome lights, and handles.
Check that everything fits snugly and that the fabric does not shift. Press along the edges to ensure a tight seal. Take your time during this step to avoid damaging the new black suede headliner.
Tip: Upgrading to a headliner black suede not only improves the look of your car but also adds comfort and durability. Many drivers report that suede provides a luxurious appearance, feels smooth to the touch, and is easy to maintain with regular care.
| Benefit | Description |
|---|---|
| Aesthetics | Suede provides a luxurious and fashionable appearance, enhancing the vehicle’s interior. |
| Comfort | The smoothness of suede improves physical interaction within the cabin. |
| Durability | Suede is tough and can be easily cleaned with proper care. |
| Personalization | Upgrading headliner material can increase user satisfaction and mood during journeys. |
When you finish the install, use a lint brush to keep the suede looking fresh. Dust the fabric gently with a damp cloth if needed. For spills, pat the area dry and brush gently to restore the nap.
By following these steps, you can install a headliner black suede in your car and enjoy a custom look that lasts.
- You followed each step to install a black suede headliner.
- You improved your car’s look with care and patience.
- You can enjoy the process and take pride in your work.
Share your results or ask questions below. Your experience helps others succeed!

FAQ
How long does this guide take to complete?
You can finish this guide in one weekend. Most people spend four to six hours on the guide. The guide helps you work step by step.
Can I use this guide for other headliner materials?
You can use this guide for vinyl, cloth, or leather headliners. The guide covers basic steps for any material. Always check the guide for specific tips.
What if I make a mistake during the guide?
You can fix most mistakes by following the guide again. The guide suggests lifting the fabric and reapplying adhesive. The guide helps you avoid common errors.
Tip: The guide recommends patience. The guide shows you how to get a smooth finish. The guide helps you learn from each step.
| Step in Guide | What to Do if You Mess Up |
|---|---|
| Adhesive | The guide says lift and reapply |
| Alignment | The guide suggests repositioning |
| Wrinkles | The guide shows how to smooth out |