You can install a സ്വീഡ് കാർ ഹെഡ്ലൈനർ with basic tools. This diy project brings a custom look to your vehicle and offers real savings.
- Materials for a diy headliner cost between $50 വരെ $100
- Professional installation costs much more
You gain satisfaction from doing the job yourself.
DIY സ്വീഡ് കാർ ഹെഡ്ലൈനർ ഇൻസ്റ്റാളേഷൻ എളുപ്പമാക്കി
- Gather all necessary tools and materials before starting. This preparation makes the installation process smoother and more efficient.
- Clean the headliner board thoroughly to ensure a strong bond. Removing old foam and adhesive prevents sagging and bubbling in the new suede.
- Apply adhesive carefully and work from the center outward. This technique helps avoid bubbles and ensures a professional finish.
DIY Suede Car Headliner Prep
Tools and Materials List
Before you start your suede car headliner project, gather all the ആവശ്യമായ ഉപകരണങ്ങളും വസ്തുക്കളും. എല്ലാം തയ്യാറാക്കുന്നത് പ്രക്രിയ സുഗമമാക്കുകയും കാലതാമസം ഒഴിവാക്കാൻ നിങ്ങളെ സഹായിക്കുകയും ചെയ്യുന്നു. Professional upholsterers recommend the following items:
| ഉപകരണം / മെറ്റീരിയൽ | വിവരണം |
|---|---|
| ഫ്ലാറ്റ്ഹെഡ് സ്ക്രൂഡ്രൈവർ | Removes trim and accessories |
| ഫിലിപ്സ് സ്ക്രൂഡ്രൈവർ | Removes screws from sun visors and handles |
| സോക്കറ്റ് റെഞ്ച് സെറ്റ് | Loosens bolts holding the headliner |
| യൂട്ടിലിറ്റി കത്തി / കത്രിക | Cuts suede fabric to size |
| കടുപ്പമുള്ള ബ്രഷ്/വാക്വം | Cleans old foam and debris |
| മൈക്രോ ഫൈബർ തുണി | Wipes surfaces clean |
| 3M™ ഹെഡ്ലൈനർ പശ | Bonds suede to headliner; ശക്തമായ, ഈർപ്പം പ്രതിരോധം |
| ഫാക്സ് സ്വീഡ് ഫാബ്രിക് (2 yd) | മിക്ക കാർ ഹെഡ്ലൈനറുകളും ഉൾക്കൊള്ളുന്നു |
| പുതിയ ഹെഡ്ലൈനർ ബോർഡ് | Optional, if the original is damaged |
നുറുങ്ങ്: Use 3M™ Headliner Adhesive for best results. It provides strong bonding and resists heat and moisture.
Removing Accessories and Headliner
You must remove all interior accessories before taking out the headliner. This step prevents damage and gives you full access to the surface.
- Remove trim pieces, സൂര്യൻ വിസറുകൾ, map lights, താഴികക്കുട വിളക്കുകൾ, and roof handles.
- Use the correct tools for your vehicle model.
- Research your car’s specific removal process.
Removing the headliner is one of the more challenging parts of the installation process. Use a trim tool for tight clips, especially on dome lights.
Cleaning Old Foam and Surface
Clean the headliner board thoroughly. Old foam and adhesive can weaken the bond and cause sagging or bubbling. Use a stiff brush or vacuum to remove debris. For stubborn glue, try a wire wheel or apply gentle heat with a steamer. Make sure the surface is smooth and dry before installing your suede car headliner. A clean board ensures the new material looks flawless and lasts longer.
Installation Steps and Pro Tips
Applying Adhesive and Suede Material
You can achieve a professional finish by following a careful process when attaching the suede car headliner. Use these steps to ensure a secure bond and a smooth appearance:
- Lay the suede fabric over the headliner board. Cut the material, leaving a few centimeters on each side for edge finishing.
- Mark all attachment points and holes before applying adhesive. This step helps you avoid mistakes during reinstallation.
- Choose a high-adhesion spray adhesive, such as 3M™ Headliner Adhesive, or contact cement for best results.
- Apply a thin, even layer of glue to both the board and the back of the suede. Make sure you cover the entire surface.
- പശ ടാക്കി ആകുന്നതുവരെ കാത്തിരിക്കുക. This prevents the glue from soaking into the fabric and ensures a strong bond.
- Start from the center of the board. Press the suede onto the surface and work outward toward the edges. This technique helps you avoid bubbles and wrinkles.
- Smooth out any bubbles or folds as you go. Use your hands or a soft roller for best results.
- Trim excess fabric once the suede is securely attached.
നുറുങ്ങ്: Prepare the surface by removing all old foam and adhesive. This step improves adhesion and prevents future sagging.
Fitting Around Curves and Contours
You may find that installing suede on curved or contoured areas requires extra attention. The flexibility of modern suede fabrics makes this process easier.
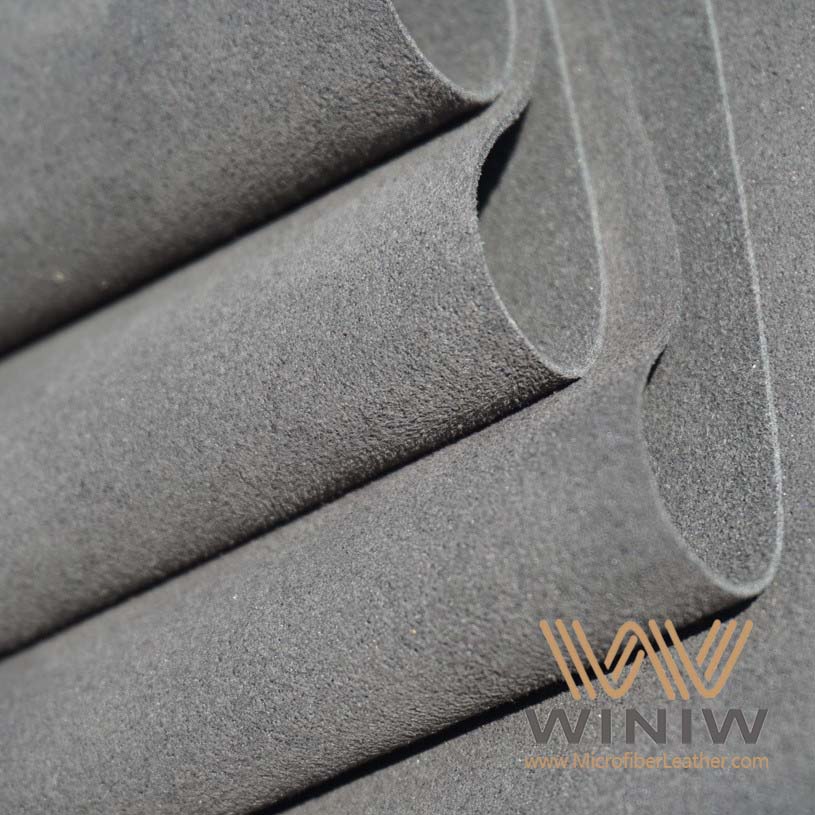
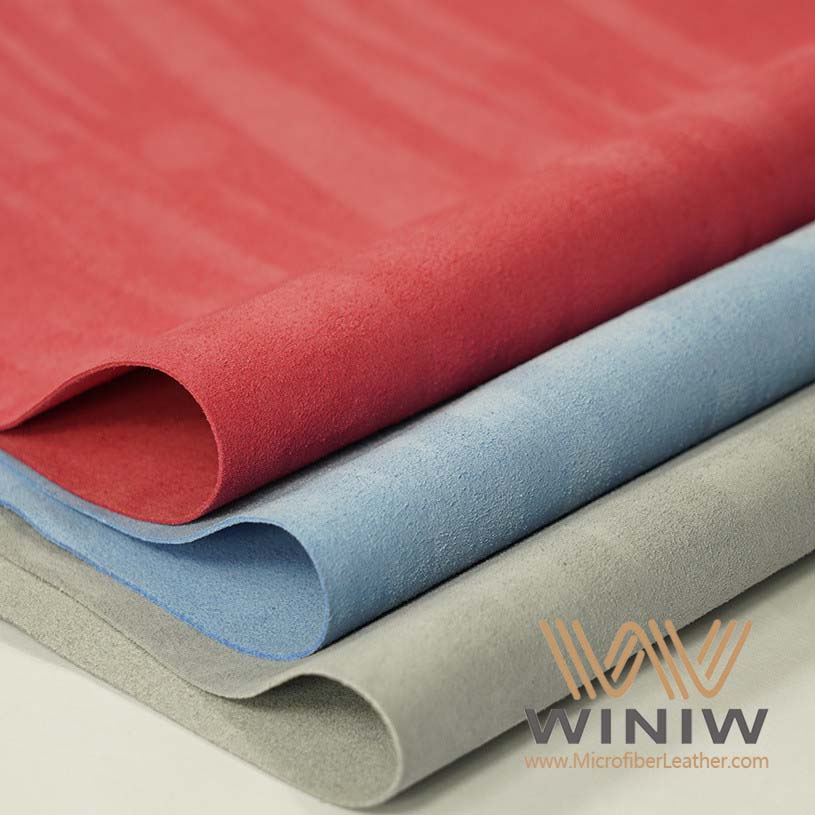
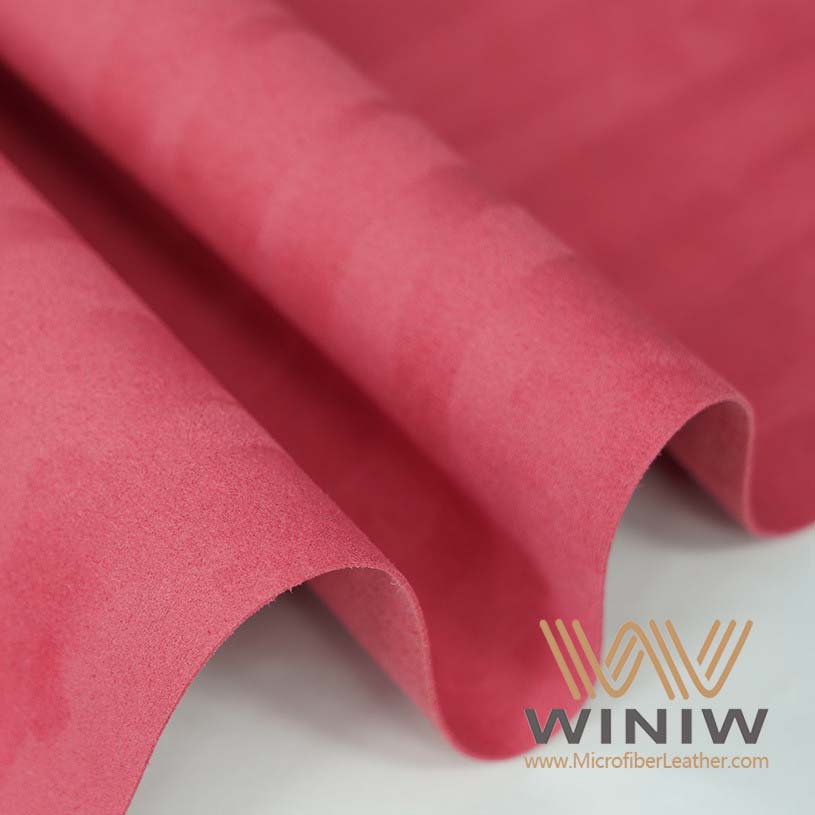
The standout feature of bonded suede ഹെഡ്ലൈനർ മെറ്റീരിയൽ is its stretch and flexibility. You can pull it in any direction—lengthwise, widthwise, or diagonally. It conforms beautifully to complex contours without the need for cutting or relief cuts.
Take your time when working around corners and curves. Stretch the fabric gently and evenly. Avoid pulling too hard, which can cause thin spots or tears. Use a soft roller or your hands to press the material into tight areas.
Reinstalling Headliner and Accessories
Once you finish installing suede, you need to reinstall the headliner and all accessories. Follow these steps for a secure and neat result:
- Carefully insert the headliner panel through the door or rear hatch. Avoid bending the panel or shifting the fabric.
- Align the panel with the ceiling. Make sure it sits evenly and securely.
- Reinstall the panels and clips you removed earlier. Use a flathead screwdriver for tight spots.
- Replace all accessories, including dome lights, സൂര്യൻ വിസറുകൾ, seat belt covers, and hooks.
- Check that everything fits snugly and nothing blocks your view.
- ഈ ഘട്ടത്തിൽ നിങ്ങളുടെ സമയം ചെലവഴിക്കുക. Rushing can damage the panel or misalign the fabric.
- Use a sharp knife or scissors to trim excess fabric along the edges.
- A measuring tape helps you make precise cuts around lights and handles.
- Clean up dust and adhesive residue with a spray bottle of water and a microfiber cloth.
| ഘടകം | Torque Specification | Tools Required |
|---|---|---|
| Sun Visor Bolt | 3.5 Nm (2.6 lbs-ft) | Torx T25 socket, ¼ in torque wrench |
സുരക്ഷാ നുറുങ്ങ്: Wear gloves, long sleeves, and eye protection when working with adhesives and tools. Ensure proper ventilation to avoid inhaling fumes.
Troubleshooting Common Issues
You may encounter some challenges during the installation process. Here are common mistakes and solutions to help you achieve a flawless suede car headliner:
- Rushing the cleaning process can leave foam or old glue, weakening the bond.
- Applying too much adhesive in one spot can cause it to seep into the suede lining.
- Ignoring the step of spraying adhesive on both the board and the fabric reduces adhesion strength.
- Forgetting to mark mounting points before trimming can complicate reinstallation.
Other frequent issues and solutions include:
- Removal of old headliner material: Use a wire brush to remove all old, rotten glue from the headliner.
- Ensuring proper adhesion of the new material: Glue all edges and cut ‘X’s in holes before applying the new suede.
- Dealing with old glue: Make sure to remove all of the old glue before applying the new material.
You can avoid wrinkles and bubbles by starting from the center and working outward in sections. If you notice wrinkles after installation, use a heat gun or steamer to smooth them out. Accurate measurements prevent fabric bunching or insufficient coverage.
Maintenance Tip: Regularly brush your suede car headliner with a soft brush to prevent matting and remove dust. Use a damp microfiber towel for deeper cleaning when needed.
You can extend the life of your headliner by protecting it from sun exposure and cleaning it regularly. Most failures occur due to heat, UV എക്സ്പോഷർ, നുരയെ ശോഷണം, ഈർപ്പം, and poor installation. Take your time and follow each step carefully to prevent these problems.
- You followed each step to install a suede car headliner.
- You improved your car’s look and saved money.
- You can achieve a professional finish by working carefully.
Share your results or ask questions below. Your experience helps others succeed with their own DIY projects!
പതിവുചോദ്യങ്ങൾ
How long does it take to install a suede headliner?
You can finish most installations in 3 വരെ 5 മണിക്കൂറുകൾ. Take your time for best results.
Can you reuse the old headliner board?
അതെ, you can reuse it if the board is not cracked or water-damaged. Clean it well before applying new suede.
What is the best way to avoid wrinkles in the suede?
Start in the center and smooth the fabric outward. Use your hands or a soft roller. Work slowly to prevent bubbles and folds.