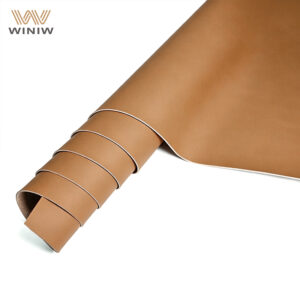
Thinking about giving your car’s interior a fresh, upscale look? Swapping out your old liner with a faux suede headliner makes a big difference. You get a luxurious feel and a quieter ride, thanks to the sound-absorbing qualities. Faux suede stays cool in summer and warm in winter. It also resists stains and fading, so a simple wipe keeps it looking sharp. Even if you’re new to diy headliner projects, you can tackle this upgrade and enjoy a cabin that feels brand new.
how to replace your car’s headliner with faux suede fabric
- Gather essential tools like screwdrivers, adhesive, and safety gear before starting your headliner project. This preparation helps avoid mistakes and makes the process smoother.
- Choose high-quality faux suede that resists wear and tear. This material not only looks great but also provides a comfortable and durable finish for your car’s interior.
- Take your time when removing the old headliner and prepping the board. Working slowly prevents damage and ensures a better fit for the new fabric.
- Apply adhesive carefully and work in small sections to avoid wrinkles and bubbles. Patience during this step leads to a professional-looking installation.
- After installation, clean your new headliner gently with a damp cloth or lint brush. Regular maintenance keeps it looking fresh and extends its lifespan.
faux suede headliner tools and materials
essential tools and supplies
Before you start your faux suede headliner project, you need to gather the right tools. Having everything ready makes the job smoother and helps you avoid mistakes. Here’s a quick checklist:
- Flathead and Phillips screwdrivers
- Trim removal tools
- Utility knife or sharp scissors
- Wire brush or sandpaper
- Spray adhesive (automotive grade)
- Measuring tape
- Clean microfiber cloths
- Gloves and safety glasses
Tip: Lay out your tools before you begin. This way, you won’t have to stop in the middle of your faux suede headliner installation.
choosing faux suede and foam backing
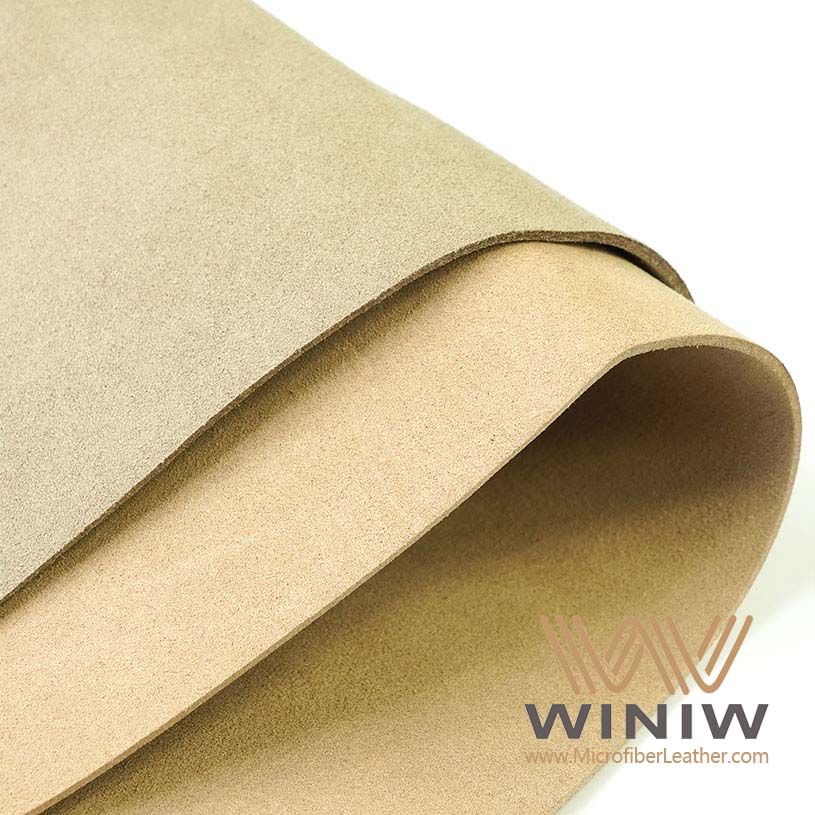
Picking the right faux suede for your car matters. You want a material that looks great and lasts a long time. Faux suede stands out because it resists wear and tear when you take care of it. It also gives your car a soft, premium feel.
Here are some popular options for automotive headliners:
- Black faux suede automotive headliner: Foam-backed, 1/8″ thick, 60″ wide. Great for repairs, restoration, and even marine projects.
- Suede headliner (foam backed): 60″ wide, laminated with 1/8″ thick foam. This is an affordable choice for most cars and works well for pleating or channeling.
Faux suede comes from synthetic fibers. These fibers last a long time, but they do have some environmental impact. They come from non-renewable fossil fuels, and the production process uses a lot of energy. When you wash faux suede, it can release microplastics. Once thrown away, it can stay in landfills for hundreds of years.
best adhesives for suede headliner
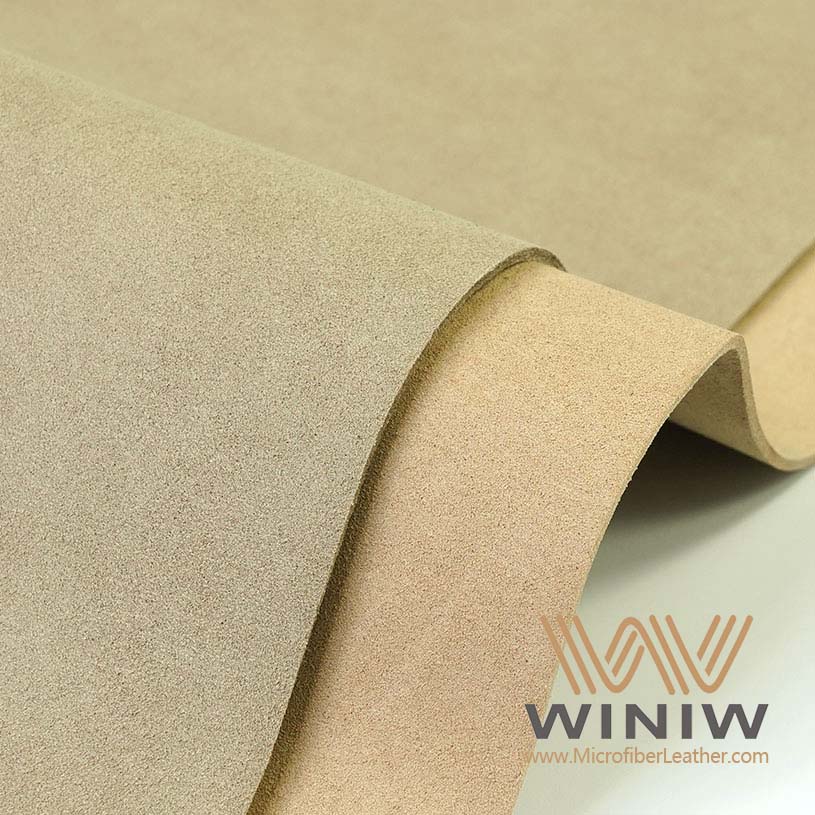
You want your faux suede headliner to stay put, so choose a strong adhesive. Look for an automotive spray adhesive that works with both foam and fabric. Make sure it can handle heat and humidity, since your car’s interior gets warm. Always follow the directions on the can for the best results.
Note: Test the adhesive on a small piece of faux suede before you start. This helps you avoid stains or damage to your new headliner.
remove the old headliner
prepping your workspace
Before you dive into your headliner project, set up your workspace for success. Park your car in a well-lit area. Good lighting helps you spot hidden screws or clips that hold the headliner in place. Roll down your windows to keep fresh air moving. This step matters because you might deal with adhesive fumes later. Gather all your tools and lay them out within reach. You want to avoid searching for a screwdriver while holding up the headliner.
Safety comes first. Here are a few tips to keep you safe and make the job easier:
- Wear gloves and safety glasses to protect your hands and eyes.
- Use a clean microfiber cloth to wipe down surfaces before you start.
- Work slowly when you detach the headliner fabric. Rushing can cause tears or damage.
- Inspect the edges of the headliner board for screws or clips before you try to remove it.
Tip: Take photos of your headliner and trim pieces before you remove anything. These pictures help you remember where everything goes during reinstallation.
taking out the headliner board
Now you’re ready to remove the headliner board. Start by taking off any trim pieces, visors, dome lights, or grab handles that cover the edges of the headliner. Use your trim removal tools to gently pry these parts away. Keep all screws and small parts in a labeled container so you don’t lose them.
Carefully lower the headliner board from the roof. Support it with both hands to prevent bending or breaking. The board can be fragile, especially if it’s old. Take your time and check for any missed screws or clips along the perimeter. Most people spend at least two hours on this step. Working slowly gives you the best chance to keep the headliner board in good shape for the next stage.
Once the headliner board is out, place it on a clean, flat surface. You’re now ready to move on to prepping the board for your new faux suede headliner.
prep the headliner board
strip old fabric and foam
Now that you have the headliner board out, it’s time to get rid of the old fabric and foam. This step sets the stage for a smooth, professional-looking finish. Start by peeling off the old headliner fabric. Most of the time, you can pull it away with your hands. If it feels stuck, work slowly and try not to tear the board underneath.
Once the fabric is off, you’ll see a layer of old foam stuck to the headliner board. This part can get messy, but it’s important for a flawless result. Here’s a simple way to tackle it:
- Use a bristle brush or lightweight sandpaper to gently scrape away the foam.
- Move in small circles and avoid pressing too hard.
- Keep going until you see the bare surface of the headliner board.
Tip: The smoother you get the board, the better your new headliner will look and stick.
clean and repair the board
After you remove the foam, you’ll probably notice some stubborn glue left behind. This glue can make it hard for the new headliner to bond well. You have a few options for cleaning it up:
- Try acetone or WD-40 to loosen tough adhesive.
- For really stubborn spots, a drill brush or wire wheel can help, but be careful—they can get messy and might damage the board if you press too hard.
Some glues just don’t want to budge, even with strong cleaners. If that happens, focus on getting the surface as smooth as possible. Don’t worry if a little glue remains, as long as the headliner board feels even.
Check the board for cracks or weak spots. If you find any, use a little glue or tape to reinforce them. Make sure the headliner board is dry and free of dust before you move on. A clean, solid board gives your new headliner the best chance to last for years.
install suede headliner fabric
cut and position the fabric
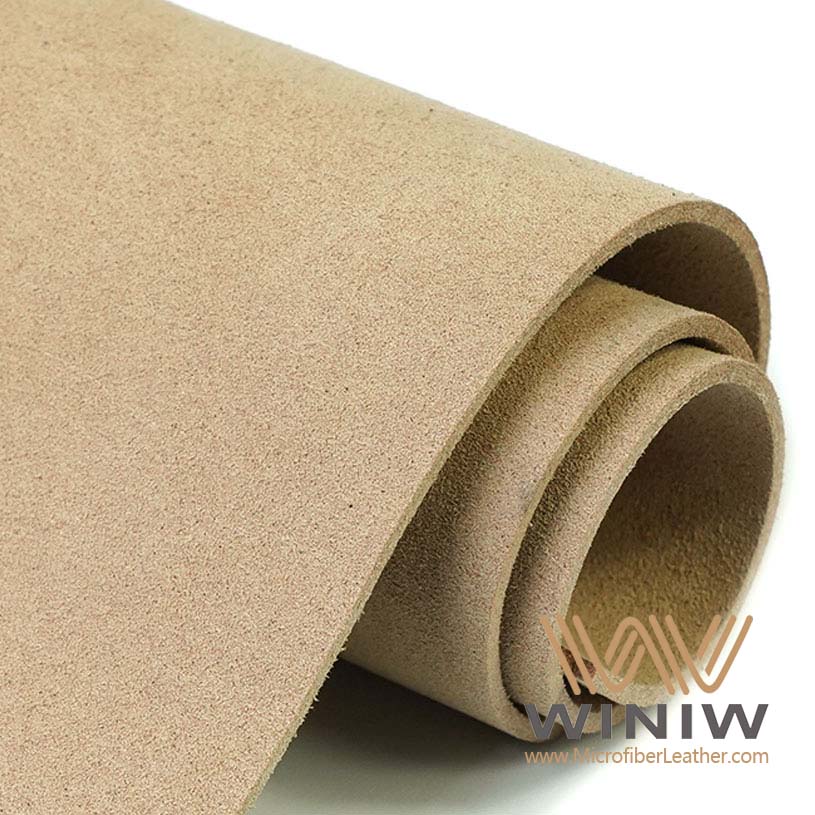
You have your headliner board prepped and ready. Now comes the fun part—working with the suede headliner fabric. Lay the fabric out flat on a clean surface. Place the headliner board on top. Make sure you have the foam backing facing the board for that cushioned, premium finish. Cut the suede headliner fabric so you have about 3 to 4 inches of extra material around all sides. This extra gives you room to wrap the edges later.
Take a moment to check the direction of the nap on your faux suede. Run your hand across the surface. You want the nap to run the same way across the entire headliner for a uniform look. If you have a helper, ask them to hold one end of the fabric while you adjust the other. This teamwork makes it much easier to keep the material straight and avoid shifting. Working together also helps prevent mistakes like misaligning the fabric or getting glue where you don’t want it.
Tip: Always double-check your measurements before you cut. You can trim extra fabric, but you can’t add it back once it’s gone.
apply adhesive and attach fabric
Now you’re ready to install the suede headliner. Start by spraying adhesive on both the headliner board and the back of the suede headliner fabric. Use an automotive spray adhesive or contact cement for even coverage. Let the glue sit for about 5 to 7 minutes until it feels tacky. This waiting period helps the fabric stick better and prevents sliding.
Work in small sections—about 6 inches to a foot at a time. Begin at the center of the headliner board. Press the fabric down gently, then smooth it outward toward the edges. This method helps you avoid wrinkles and bubbles. Keep a little tension on the fabric as you install it. If you have a helper, ask them to hold the fabric up while you press and smooth. This step can feel like you need twenty hands, so having someone with you makes the install much easier.
Once you finish the main surface, flip the headliner board over. Spray adhesive along the backside edges. Fold the extra fabric over and press it down firmly. Trim any excess material with a sharp utility knife or scissors.
Note: Always allow the adhesive to become tacky before you attach the fabric. Rushing this step can lead to poor bonding and future sagging.
smooth out wrinkles and finish edges
You want your new suede headliner to look smooth and professional. Start from the center and work outward as you install each section. This technique helps you avoid wrinkles and keeps the fabric tight. If you spot a wrinkle, gently lift the fabric, reapply adhesive if needed, and press it down again. For stubborn wrinkles, use a heat gun or steamer on a low setting. Move it slowly over the area while smoothing with your hand.
Keep the fabric under light tension as you work. This step helps prevent bubbles and gives your headliner a flawless finish. When you reach the edges, sand them smooth before wrapping the fabric. This prevents rough spots from showing through. Use a burnishing tool with a little water to press down the edges. This creates a crisp, professional line. If you want an extra polished look, apply edge paint or dye to the exposed edges. This hides minor imperfections and gives your install a factory-fresh appearance.
Pro Tip: Take your time with the edges. Clean, finished edges make your suede headliner look like it came straight from the showroom.
You’ve now completed the core steps to install suede headliner fabric. With patience and attention to detail, you’ll transform your car’s interior and enjoy a custom look that lasts.
reinstall and finish
reinstall the headliner board
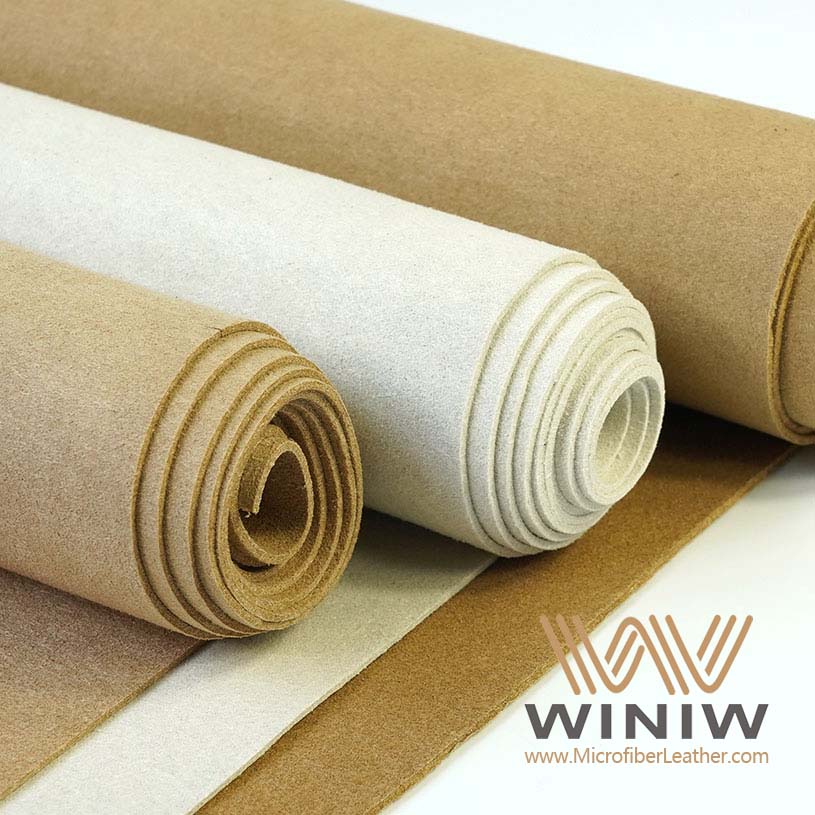
You’ve finished the hardest part of the installation. Now, you get to see your work come together. Start with a quick preparation check. Make sure you have all your trim pieces, screws, and tools ready. This step saves you from searching for missing parts during installation.
Follow these steps for a smooth headliner board installation:
- Lift the headliner board into the car. Hold it steady to avoid bending or creasing the new faux suede.
- Align the board with the roof. Take your time with this part of the installation. Rushing can damage the fabric.
- Secure the board by reinstalling the clips and screws you removed earlier. Work from the center outward for even pressure.
- Reattach dome lights, visors, grab handles, and any other accessories. Cut small holes in the fabric for these parts if needed. Use a sharp blade for clean cuts.
- Snap the trim pieces back into place. Double-check that everything fits snugly.
Tip: If you have a helper, ask them to hold the board while you complete the installation. This teamwork makes the process easier and protects your new install.
During installation, watch out for common issues. Heat and humidity can affect the adhesive. Park in a shaded area and keep the car cool during installation. Use a heat-resistant adhesive for the best results. If you notice any sagging or loose spots, press them down firmly before finishing the installation.
final checks and cleaning
You’re almost done with your installation. Before you celebrate, do a final walk-through. Check every edge and corner for loose fabric or missed trim pieces. Gently press on the headliner to make sure the installation feels secure.
Now, focus on cleaning. Faux suede needs gentle care after installation. For everyday upkeep, use a lint brush or a damp cloth to remove dust. Don’t soak the fabric—just wipe it lightly. For small spills, blot with a paper towel. If you see a stain, brush the area and vacuum. For oil-based stains, blot with a dry cloth, then use a little ethyl alcohol on a cloth to treat the spot. Always finish with a dry cloth to remove any residue.
Note: Avoid harsh cleaners or scrubbing. Gentle cleaning keeps your installation looking fresh and new.
With the right preparation and careful installation, you’ve transformed your car’s interior. Enjoy your new faux suede headliner and the satisfaction of a job well done!
avoid common mistakes
When you tackle a diy suede headliner replacement, you want everything to go smoothly. But even the most careful diy project can run into trouble. Let’s look at some common mistakes and how you can dodge them for a successful suede headliner install.
adhesive problems
Adhesive issues pop up often during a diy headliner job. If you rush the glue process or use the wrong type, the fabric might not stick well. Sometimes, the foam backing makes it tough to fix mistakes once the adhesive sets. You might feel frustrated if the fabric slides or sags. To avoid this, always use an automotive-grade spray adhesive and let it get tacky before pressing the fabric down. Work in small sections and keep the workspace cool. If you notice a spot that isn’t sticking, lift the fabric gently and reapply adhesive. Patience pays off in a diy project.
Tip: Test your adhesive on a scrap piece of faux suede before starting your diy install. This helps you spot any staining or bonding problems early.
fabric wrinkles and bubbles
Wrinkles and bubbles can ruin the look of your diy headliner. You’ll often see bunching in the center or trouble fitting the fabric around the C pillars. If you rush or skip smoothing, you might need several attempts to get it right. Always start from the center and work outward. Keep light tension on the fabric and use a helper if you can. Smooth each section as you go. For stubborn wrinkles, a heat gun or steamer on low can help. Remember, a successful suede headliner install depends on taking your time and checking your work.
board damage
The headliner board is fragile, especially during a diy project. If you bend or drop it, you risk cracks or broken edges. To prevent damage, carefully remove the board and watch out for trim pieces. Clean and prep the board so the new fabric bonds well. Before final installation, check that all attachment points line up. This step ensures proper installation and keeps your diy headliner looking sharp for years.
Here’s a quick checklist to help you avoid board damage:
- Remove the board slowly and support it with both hands.
- Clean the surface before applying new fabric.
- Double-check fit before reinstalling.
If you follow these tips, your diy project will look professional and last longer.
You just learned how to upgrade your car interior with high-quality suede fabric. The process includes removing the old headliner, prepping the board, installing the new fabric, and finishing with care. When you take your time, you get a car interior that feels luxurious and lasts for years. Faux suede brings comfort, durability, and easy maintenance to your interior. Many car owners say their interior looks better and matches perfectly after this project.
- Your refreshed interior offers:
- A stylish look and cozy feel
- Simple cleaning and lasting beauty
- A boost in car interior satisfaction
Want to share your results? Join communities like Auto Geek Online or Grassroots Motorsports and show off your new interior!

FAQ
How long does it take to replace a car headliner with faux suede?
You can finish this project in about four to six hours. If you work slowly and carefully, your car will look great. Take breaks if you need to. Rushing can lead to mistakes.
Can I install a faux suede headliner in any car?
Yes, you can install faux suede in almost any car. Just make sure you measure your car’s headliner board first. Some cars have more curves or trim pieces, so check your car’s design before you start.
What if my car’s headliner board is damaged?
If your car’s headliner board has cracks or holes, you can fix it with glue or tape. For big damage, you might need a new board. Always check your car’s board before you install new fabric.
Will faux suede make my car hotter in the summer?
Faux suede actually helps keep your car cooler. It does not trap heat like some other materials. Your car will feel more comfortable in both hot and cold weather.
How do I clean my new faux suede car headliner?
Use a lint brush or a damp cloth to clean your car’s headliner. For stains, blot gently. Never soak the fabric. Your car’s interior will stay fresh if you clean it regularly.
Tip: Always test any cleaner on a hidden spot in your car before using it on the whole headliner.