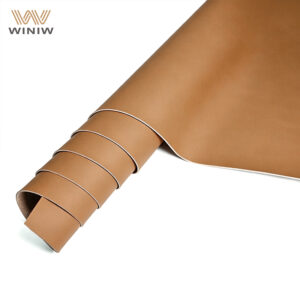
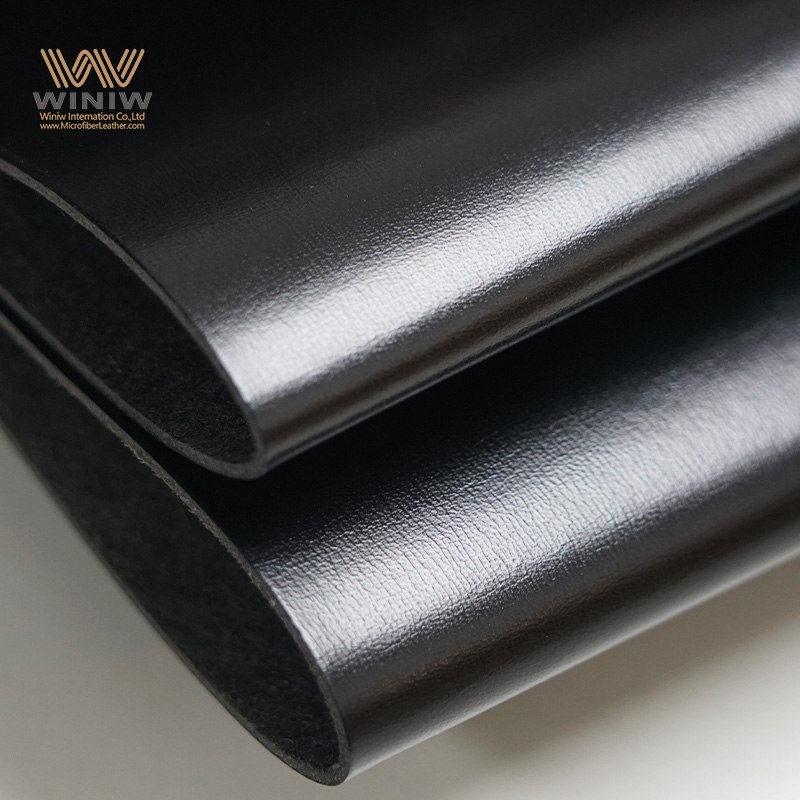
Fa'apipi'i headliner suede fabric in your car gives you a practical diy project that saves money. You can achieve a luxury finish for less. Many drivers choose suede for its special qualities:
| Benefits of Suede Fabric for Car Headliners |
|---|
| Luxurious and soft feel |
| Upscale appearance |
| Fa'alogo lelei |
| Available in various colors |
You avoid high costs when you do it yourself:
- DIY headliner installation costs range from $25 ia $100.
- Professional installation services can cost between $200 ma $600, with high-end materials pushing costs to $800–$1,500.
Avea'i Autu
- Fa'apipi'i headliner suede fabric can save you money and give your car a luxurious look. DIY tau e afua mai $25 ia $100, compared to professional services that can exceed $600.
- Faapotopoto uma meafaigaluega ma mea e mana'omia a o lei amataina. This includes screwdrivers, fa'apipi'i, and a utility knife to ensure a smooth installation process.
- Fa'aalu lou taimi ile fa'apipi'iina. Start from the center when applying fabric, smooth outward, and check for wrinkles to achieve a professional finish.
Prepare for Headliner Suede Fabric Installation
Meafaigaluega ma Mea e Manaomia
Before you start your diy project, gather all the necessary tools and materials. Having the right equipment ensures a smooth installation and a professional finish. Here’s what you need:
- Screwdrivers mo le aveeseina o pa'u ma laulau
- Trim removal tool to protect your car’s interior
- Utility knife or sharp scissors for cutting fabric
- Wire brush or sandpaper to clean the headliner board
- Professional quality spray adhesive for a strong bond
- Roller or smoothing tool for even fabric application
- Picks or small tools for working fabric into corners
- Gloves to keep your hands and fabric clean
Mo iuga sili ona lelei, choose a high-quality adhesive that offers strong bonding and durability. Filifili suede ulu fabric with a soft texture and a color that matches your vehicle’s interior. The right fabric improves both comfort and appearance.
Remove Old Car Headliner
You need to remove the old car headliner carefully to avoid damaging the board. Mulimuli i laasaga nei:
- Disconnect the vehicle’s battery for safety.
- Remove accessories and trim pieces, such as visors and handles, using the proper tools.
- Locate and remove all retaining clips or screws.
- Gently pull down the headliner, avoiding sharp bends.
- If adhesive holds the headliner, use a heat gun or hairdryer to soften it before removal.
- Lay the headliner flat on a clean surface.
Take photos during disassembly to help with reinstallation.
Fa'amama ma Saunia Ulua'i Komiti
Cleaning the headliner board is crucial. Old foam and adhesive can cause the new headliner suede fabric to sag or fail. Use a wire brush or sandpaper to remove all residue. Galue lemu e aloese mai le faaleagaina o le laupapa. A clean surface ensures the new fabric bonds well and lasts longer.
Fautuaga: Always work in a well-ventilated area and wear safety glasses, totini lima, and a respirator when using spray adhesives. Good ventilation reduces fume exposure and keeps you safe.
Install Suede Headliner Fabric
Apply Adhesive to Board and Fabric
You want a strong, lasting bond when you install suede ie faauluulu. Start by choosing a heavy-duty rubber cement or automotive-grade contact adhesive. Use a foam brush to apply the adhesive evenly to both the headliner board and the back of the suede fabric. Avoid over-brushing, which can lift previous layers and weaken the bond.
- Apply adhesive to both surfaces in thin, even coats.
- Let the adhesive become tacky before moving forward. Wait about 3–5 minutes, or up to 10 minute, until the surface feels sticky but not wet. This step prevents the adhesive from soaking through the fabric and ensures maximum bond strength.
- Mo vaega pi'opi'o, cut small relief slits in the suede. This helps the fabric fit snugly and prevents bunching.
- Press firmly along all edges using your fingers or a roller to guarantee even contact.
Fautuaga: Always work in a well-ventilated area and wear gloves to protect your hands during this step.
Attach Suede Starting from Center
Proper alignment is key to a smooth finish. Dry-fit the headliner suede fabric by laying it face-down, foam side up. Tuu le laupapa ulutala i luga. Fold half of the fabric back so you can work in sections.
- Spray both the foam and the board with adhesive and wait until tacky.
- Begin attaching the fabric at the center of the board. Roll the fabric down from the center toward the edges, using a roller to press out any air.
Amata mai le ogatotonu, use a roller or your hand and slowly press the fabric into the backing. This will cause the contact cement to bond and securely attach the fabric to the headliner. By starting in the center, it lets you pull out any slack from the fabric to prevent creases. Take your time and do it slowly because any mistakes left behind will be permanent and highly noticeable.
Smooth Outward for Even Finish
You want your car headliner to look flawless. After you attach the fabric at the center, work outward in small sections.
- Press the fabric gently onto the tacky adhesive.
- Smooth the fabric as you go to avoid bubbles and wrinkles.
- Use a roller or your hands to apply even pressure.
- Take your time and do not rush this step. Smoothing out any bubbles or wrinkles as you move toward the edges will give your totonu o le taavale a professional look.
Trim Edges and Reinstall Headliner
Once you finish smoothing the headliner suede fabric, trim the excess material. Wrap 1–2 inches of fabric around the perimeter and press it firmly to the back of the board. For sunroof and dome light holes, cut an X inside the opening, then wrap and trim the fabric neatly to the back.
- Test-fit the board before making final trims near the A- ma poutū C. This prevents cutting too short.
- Reinstall the headliner board gently. Align it carefully without forcing it into place. Secure all clips, fa'ailoga, and trim pieces.
Fautuaga: Cut holes for accessories accurately to avoid mistakes. Trim excess fabric before reinstalling the headliner board.
Final Checks and Pro Tips
Before you finish your diy project, perform a few final checks to ensure a professional installation:
- Open all sunroof and dome light holes after the main field is bonded.
- Wrap and press the fabric firmly along all edges.
- Test-fit the board before final trimming.
- Check for any loose spots or wrinkles and smooth them out.
If you are new to this process, watching tutorial videos can help you visualize each step. Faifai lemu, stretch and press the fabric into place, and use strong adhesive for durability. Lay the replacement fabric flat and smooth out wrinkles before you install. These steps help you avoid common mistakes and achieve a luxury finish for your car interior.
Manatua: Patience and attention to detail make a big difference. The more care you take, the better your results will look and last.
You can achieve a luxury look by following each step with care. Patience and attention to detail help you avoid common issues, e pei ona faaalia i lalo:
| Lu'i | Fofo |
|---|---|
| Sagging fabric | Reattach with adhesive |
| Torn or damaged fabric | Replace the headliner fabric |
| Need for proper tools | Use correct tools for a secure repair |
| Cleaning before repair | Clean dirt and debris for adhesive to work |
| Involvement of the process | Take your time and stay focused |
Keep your ulutala suede looking great:
- Use a soft brush or vacuum for dust.
- Clean stains with a delicate fabric cleaner.
- Avoid water to prevent marks.
Share your results and tips on forums like Classic Zcar Community or Autogeek Online. Practice leads to better results, so do not hesitate to seek advice from others.
FAQ
Can I install suede headliner fabric without removing the headliner board?
You must remove the headliner board for proper installation. This step ensures the fabric bonds well and prevents sagging or wrinkles.
What adhesive works best for suede headliner fabric?
- You should use automotive-grade spray adhesive. This adhesive provides strong bonding and resists heat and humidity inside your car.
How do I prevent wrinkles when applying suede fabric?
Start from the center and smooth outward. Use a roller or your hands. Work slowly and press firmly to avoid bubbles and creases.