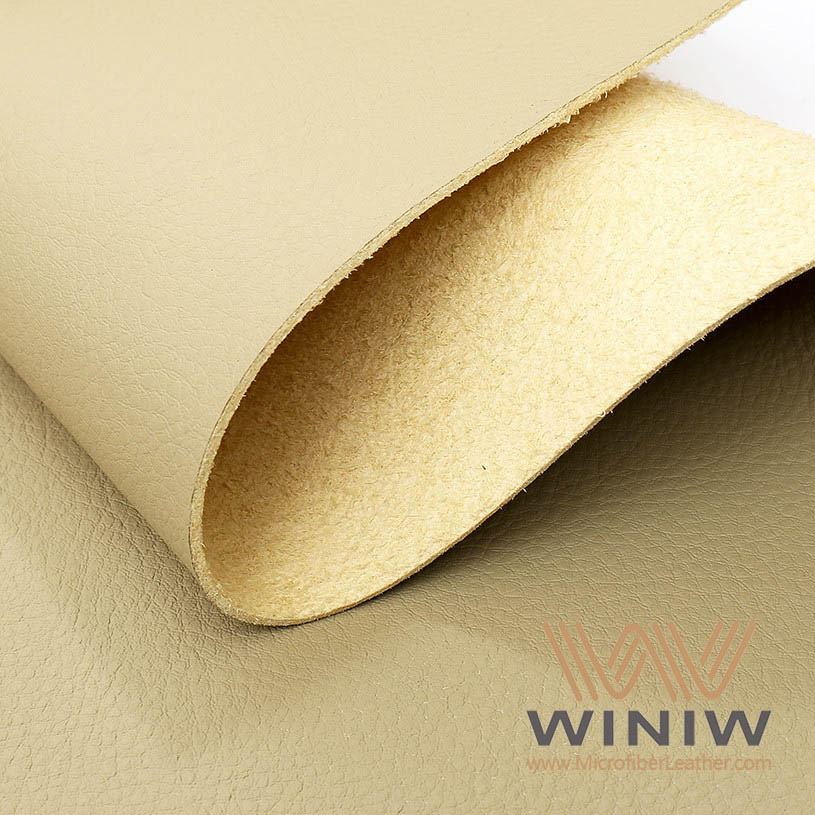
You can upgrade your car’s interior with a suede car headliner for a custom look that stands out. Many car owners find personal satisfaction in tackling this project themselves. The savings are significant, as shown below:
| Installation Type | Cost Range |
|---|---|
| DIY (including materials) | $60–$200 |
| Professional (sedans) | $250–$600 |
| Professional (SUVs/vans) | $500–$1,000+ |
With basic tools and patience, you can achieve a professional finish at a fraction of the price.
Key Takeaways
- Upgrading your car’s interior with a suede headliner can save you money. DIY costs range from $60 to $200, compared to professional installation costs of $250 to $1,000.
- Gather all necessary tools and materials before starting. This preparation helps avoid delays and ensures a smoother installation process.
- Regular maintenance, like gentle cleaning and using a fabric protector, keeps your suede headliner looking fresh and extends its lifespan.
Prepare for Suede Car Headliner Install
Tools and Materials Needed
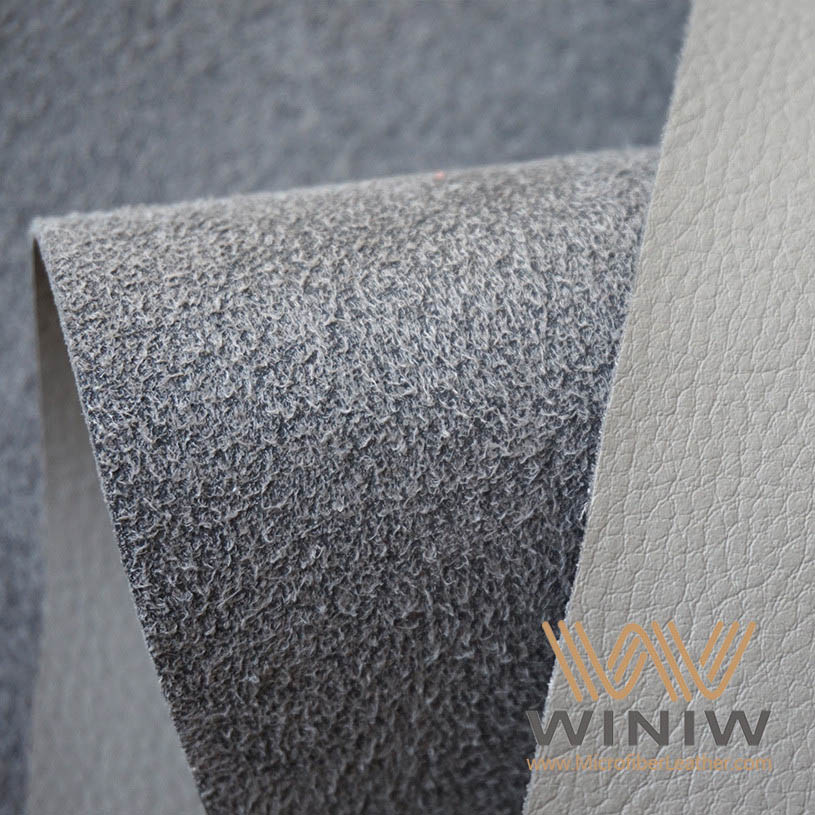
Before you start your Suede Car Headliner project, gather all the essential tools and materials. Having everything ready makes the process smoother and helps you avoid delays. Here’s a handy table to guide you:
| Tool/Material | Purpose/Description |
|---|---|
| Flathead screwdriver | Remove trim and accessories |
| Phillips screwdriver | Remove screws from sun visors and handles |
| Socket wrench set | Loosen bolts holding the headliner |
| Utility knife/scissors | Cut suede fabric to the required size |
| Stiff brush/vacuum | Clean old foam and debris from the headliner board |
| Microfiber cloth | Wipe surfaces clean before applying adhesive |
| 3M™ Headliner Adhesive | Bond suede to the headliner; strong and moisture-resistant |
| Faux suede fabric (2 yd) | Covers most car headliners |
| New headliner board | Optional replacement if the original board is damaged |
Tip: Set up your workspace in a well-ventilated area. Fold down the seats to create more room and protect your car’s interior.
Remove Old Headliner
You need to remove the old headliner carefully to avoid damaging the board. Follow these steps:
- Disconnect the battery and remove the passenger seat if needed.
- Take off trim and accessories attached to the ceiling, such as sun visors, dome lamp, grab handles, and seat belt loops.
- Pull back or partially remove side interior trim panels to access the headliner edges.
- Lower one side of the headliner panel and slide it over or turn it to clear trim panels.
- Carefully remove the headliner panel from the vehicle without bending or damaging the board.
Note: Ask a friend to help you maneuver the board out of the car, especially if you drive an SUV or van.
Clean and Prep Headliner Board
Cleaning the headliner board is crucial for proper adhesion. Use a stiff brush or vacuum to remove old foam and debris. Wipe the surface with a microfiber cloth to ensure it’s dust-free. If the board is damaged, consider replacing it before installing your Suede Car Headliner. A clean and smooth board helps the adhesive bond better and gives you a flawless finish.
Install Suede Car Headliner
Apply Adhesive and Suede Fabric
You need to start by choosing the right adhesive for your Suede Car Headliner project. High-temperature headliner adhesive rated for at least 160°F ensures durability and prevents the fabric from sagging or peeling, especially during hot weather. Regular spray glues often fail in these conditions, so select a product specifically designed for automotive headliners.
Begin by laying your suede fabric flat and measuring it against the headliner board. Always measure twice and cut once, leaving extra material around the edges for trimming. Clean the board thoroughly to remove dirt and grease, which helps the adhesive bond better.
When applying the adhesive, work in sections. Spray the center first, then smooth the fabric outward. Keep the fabric taut as you press it down to avoid wrinkles. Divide the board into manageable areas and stretch the fabric gently before securing it. If you notice minor wrinkles, use a heat gun or steamer to relax the fibers and smooth them out. Reapply adhesive if needed to fix persistent issues.
Tip: Trim excess fabric along the edges, but leave a small border to allow for movement and shrinkage.
Secure Edges and Cut Openings
After you have attached the main surface, focus on securing the edges. Use a staple gun or strong adhesive to reinforce the borders, especially around curves and contours. This step prevents lifting and ensures a neat finish.
Mark and cut openings for fixtures such as dome lights, sun visors, and handles. Use a utility knife or scissors for precision. Drill holes if necessary, but always double-check measurements before making any cuts. Stretch the fabric gently around corners and curves to maintain a smooth appearance.
Note: Work slowly and check your progress often. Rushing can lead to mistakes that are difficult to fix.
Reinstall Headliner and Accessories
Once you finish securing the fabric and cutting openings, reinstall the headliner board into your vehicle. Slide the board back into place, making sure not to bend or damage it. Reattach trim panels, sun visors, dome lamps, and other accessories.
Many people face challenges during this step, such as wrinkles, bubbles, or lifting. To overcome these issues, work in sections and keep the fabric taut. Use heat to soften and smooth out minor wrinkles. If you notice lifting, reapply adhesive and press the fabric firmly.
Callout: Ask a friend to help you maneuver the board, especially in larger vehicles. This reduces the risk of damage and makes the process easier.
| Vehicle Type/Condition | Estimated Time |
|---|---|
| Standard Vehicles | 2–4 hours |
| Larger Vehicles | 4–6 hours |
| Additional Complexities | 4–6 hours |
Troubleshooting and Care Tips
You may encounter common mistakes during installation. Wrinkles, bubbles, and lifting often occur if you rush or use the wrong adhesive. To fix these problems, stretch the fabric, use heat, and reapply adhesive as needed. Trim excess material but leave a small border for shrinkage.
Maintaining your Suede Car Headliner extends its lifespan and keeps your car interior looking fresh. Regular cleaning prevents stains and buildup. Brush the headliner with a soft brush to remove dust and prevent matting. For moderate cleaning, use a damp microfiber towel and a suitable upholstery cleaner. Vacuum the headliner before applying any cleaning solution.
Apply a fabric protector to repel dirt and prevent stains. Keep your car interior clean and avoid eating or drinking inside to reduce spills. Ensure proper ventilation to prevent moisture damage.
Tip: Consistent care and gentle cleaning methods help your Suede Car Headliner stay beautiful for years.
You can transform your car’s interior with a Suede Car Headliner by following clear steps. Take your time and enjoy each part of the project. Many car enthusiasts share their results and tips on active forums like the Jaguar Forums. Sharing your experience can inspire others and help you learn more.

FAQ
How long does a DIY suede headliner last?
A well-installed suede headliner can last five years or more. Regular cleaning and gentle care help you extend its lifespan.
Can you install a suede headliner without removing the board?
You need to remove the headliner board for best results. Installing fabric inside the car often leads to wrinkles and poor adhesion.
What type of suede fabric works best for car headliners?
Choose automotive-grade faux suede. It resists fading, stretching, and moisture. You get a professional look and long-lasting results.