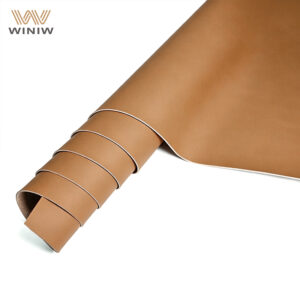
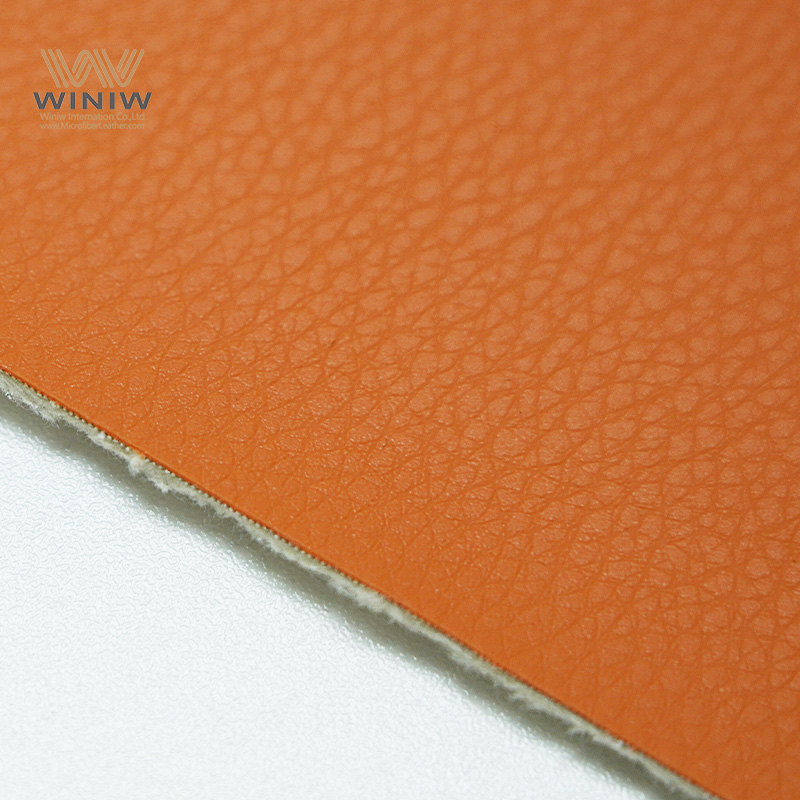
You can replace your car headliner, even if you have never tried DIY car repairs before. Car Head Liners often sag or tear from sun exposure or regular use, but you do not need expensive professional help. By using a headliner kit and basic tools, you save hundreds of dollars—DIY replacement costs $200 si $400, while professional jobs can range from $400 si $1500. Take control, protect your budget, and enjoy a refreshed interior with confidence.
Itọsọna Olukọni si fifi akọle ọkọ ayọkẹlẹ sori ẹrọ
- You can save money by replacing your car headliner yourself. DIY owo ibiti lati $30 si $80, farawe si $200 si $600 for professional help.
- Kó gbogbo wọn jọ pataki irinṣẹ ati ohun elo ṣaaju ki o to bẹrẹ. This preparation helps you work efficiently and avoid frustration.
- Take your time when removing trim and accessories. Careful handling prevents damage and ensures a smooth reinstallation.
- Apply adhesive evenly and work in small sections. This technique helps achieve a ọjọgbọn pari without wrinkles or bubbles.
- Perform a thorough final check after installation. Inspect for any imperfections and ensure everything is securely in place.
Irinṣẹ ati ohun elo
What You Need
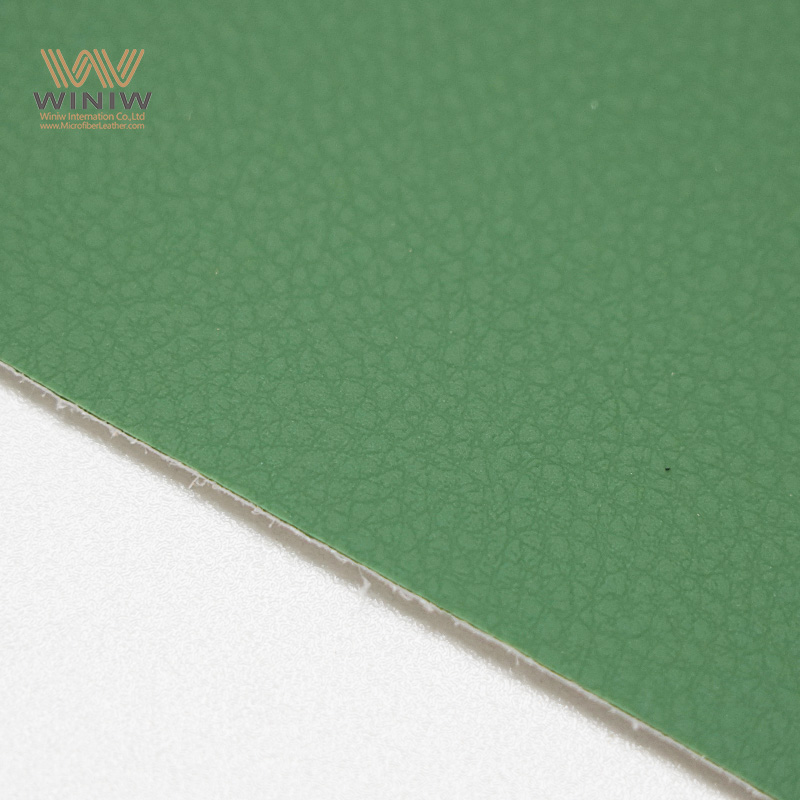
You can achieve a professional-looking headliner replacement with the right tools and materials. Gather everything before you start to save time and avoid frustration. Here’s a quick reference table to help you organize your supplies:
| Irinṣẹ ati ohun elo | Apejuwe |
|---|---|
| Ohun ọṣọ Aṣọ | UV-sooro, durable fabric designed for automotive interiors |
| Adhesive | 3M™ General Trim Spray Adhesive or S-18 All-Purpose Adhesive |
| Scissors | Sharp, stainless steel scissors for clean fabric cuts |
| Mild Scrubber or Soft Rag | For removing old foam and cleaning the headliner board |
| Screwdriver Set | For removing trim, kapa, and interior accessories |
| Safety Gloves & Mask | Protects your hands and lungs when working with adhesives |
Imọran: Always work in a well-ventilated area when using spray adhesives. Wear gloves and a mask to protect yourself from fumes and sticky residue.
Choose a spray adhesive for large surfaces. It provides even coverage and bonds fabric, foomu, and vinyl securely. Look for adhesives that dry quickly, resist heat, and remain flexible. These features prevent sagging and peeling, even in hot weather.
Choosing Car Headliner Kits
Select a car headliner kit that matches your skill level and your car’s style. The right kit makes installation easier and ensures a long-lasting result. When shopping, focus on these key features:
- Ease of Installation: Pick materials that are simple to handle and adhere well with spray adhesive. Foam-backed fabrics are especially beginner-friendly.
- Afilọ darapupo: Match the color and texture to your car’s interior for a seamless look.
- Iduroṣinṣin: Choose materials that resist wear, ọrinrin, ati ipare.
- Insulation and Noise Reduction: Opt for kits that offer extra insulation and help reduce road noise.
- Material Options: Automotive headliner fabric is lightweight and moisture-resistant. For a luxury feel, consider Alcantara, aṣọ ogbe, or velvet.
You can install a new headliner yourself and achieve a professional finish. With the right kit and tools, you save money and enjoy a refreshed, itura gigun.
Remove Trim and Accessories
Detach Interior Parts
Start your rirọpo headliner by removing all interior parts that cover or touch the headliner. You need to take out dome lights, visors, gba awọn kapa, and any trim pieces along the roofline. Use your screwdriver set to loosen screws and gently pry off plastic covers. Tọju gbogbo awọn skru ati awọn ẹya kekere sinu apoti ti o ni aami. This step prevents confusion during reassembly and saves you time.
Imọran: Take photos of each part before removal. These photos help you remember the correct order and placement when you put everything back.
Do not rush this process. Many people make mistakes by skipping preparation or hurrying through removal. Rushing can lead to broken clips, lost screws, or damaged trim. You want your finished headliner to look professional, so take your time and stay organized.
Handle Brittle Trim
Older vehicles often have brittle trim. You must handle these pieces with extra care to avoid cracks or breaks. Follow these techniques to protect your trim:
- Score the Seam: Use a utility knife to gently cut along the seam. This step helps prevent paint or material from tearing.
- Pry Off the Trim: Insert a trim removal tool or flat pry bar along the length of the trim. Apply even pressure to avoid snapping the piece.
- Employ Protective Shims: Place a thin shim or putty knife between your tool and the trim. This spreads out the force and protects the surface.
- Use a Heat Gun: Warm up stubborn or adhesive-backed trim. Heat softens the glue, making removal easier and safer.
Remove any devices or accessories that block the headliner board. This includes dash cams, Bluetooth microphones, or aftermarket lights. Clearing the area ensures you can lift the headliner board out smoothly.
Akiyesi: Ignoring early signs of damage or skipping steps can lead to costly mistakes. Careful removal now prevents headaches later and sets you up for a flawless installation.
Remove Car Headliner Board
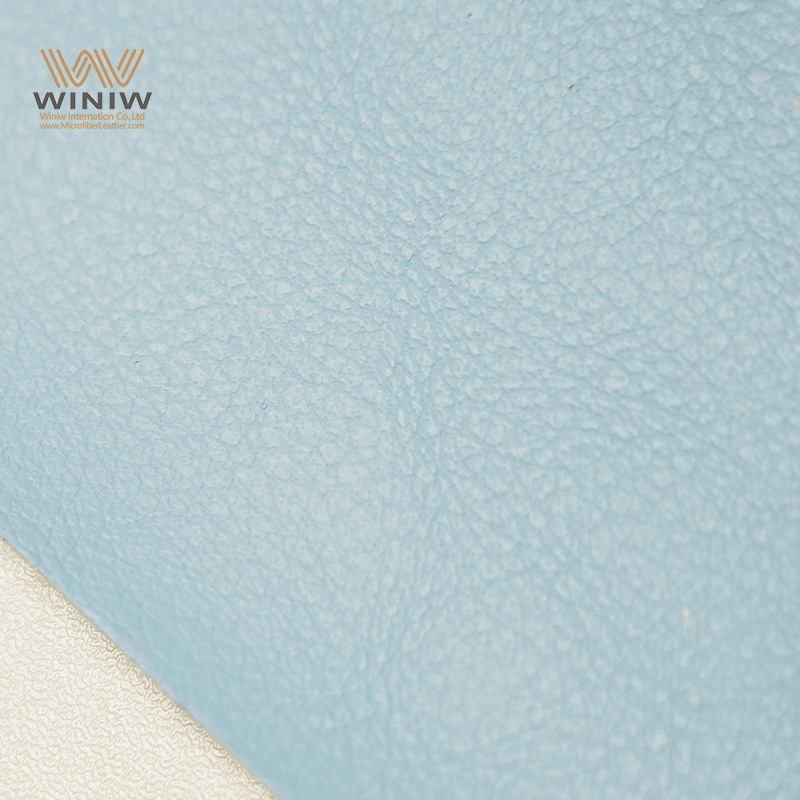
Loosen and Take Out
You need to remove the headliner board with care to avoid costly mistakes. If you rush or use the wrong tools, you risk breaking the board or damaging the trim. Replacing a broken headliner frame costs much more than a professional installation, so take your time and follow these steps:
- Disconnect the Car Battery
Always disconnect your car battery before you start. This step prevents electrical mishaps when you remove dome lights or other wired accessories. - Use the Right Tools
Choose a specialized trim removal tool or kit. These tools help you pry off plastic trim panels without scratching or cracking them. - Remove Trim Panels
Take off all plastic trim panels along the front, rear, and sides of the ceiling. Most panels use plastic clips that pop out with gentle pressure. Work slowly to avoid breaking delicate fastenings. - Loosen the Headliner Board
Start at one corner or side. Gently pull down on the board, keeping it as flat as possible. Never bend or force the board. If you feel resistance, check for missed screws or clips. - Ask for Help
The headliner board can be large and awkward. Ask a friend to help you maneuver it out of the vehicle. Two sets of hands make it easier to avoid accidental drops or bends.
Imọran: Handle the board gently at all times. If you break the frame or damage the board, you may need a costly replacement. A damaged headliner can even fall while driving, blocking your view and creating a safety hazard.
Risks to Avoid:
- Breaking the headliner frame, which leads to expensive repairs.
- Damaging delicate fastenings or trim.
- Causing the headliner to fall while driving, which can obscure your visibility.
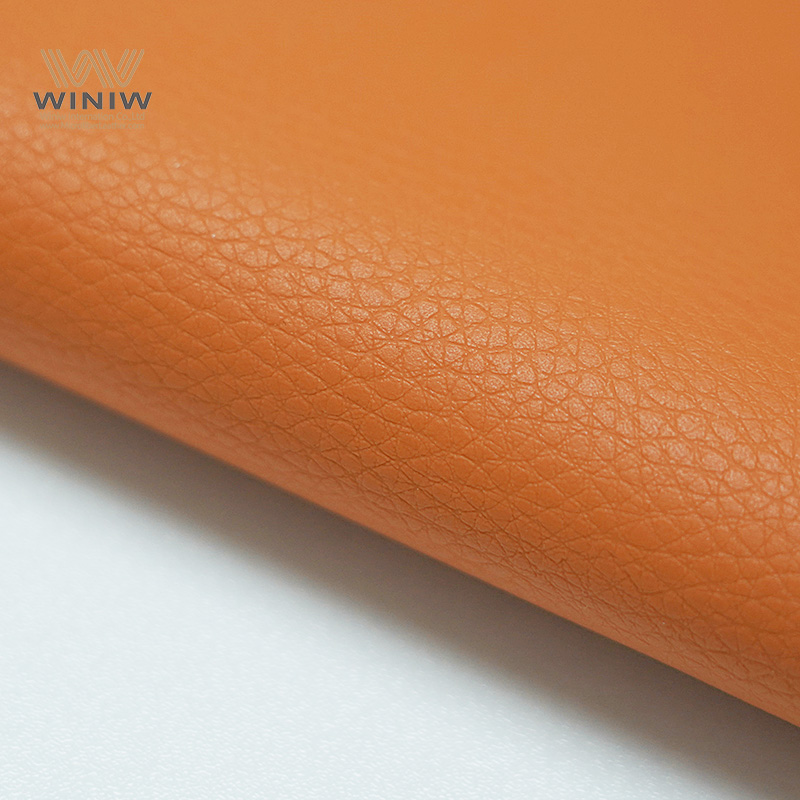
Clean Off Old Foam
Once you remove the board, you must clean off all the old foam and adhesive. This step is crucial for a smooth, ipari ipari. If you leave any residue, awọn new fabric will not stick properly and may sag or bubble.
Best Cleaning Methods:
| Method/Tool Used | Effectiveness | Awọn akọsilẹ |
|---|---|---|
| Soft drill brush | Déde | Good for foam, not for glue |
| Wire wheel | Ga | Very effective but can damage plastic |
| Stiff wire wheel | Ga | Effective for foam, tough on glue |
| Sanding | Déde | Risk of damaging headliner, use with care |
You should always use a mild scrubber or a soft rag for this job. Avoid wire brushes or wire wheels. These tools can gouge the board, strip away fiberglass strands, and weaken the structure. If the board is already fragile, a wire brush can make things worse by creating divots or holes.
Akiyesi: Never use a wire brush on your headliner board. The abrasive bristles can destroy the surface, making it impossible to get a smooth finish. Stick with gentle tools to protect the board’s integrity.
Wipe away all loose foam and dust. Run your hand over the surface to check for rough spots. The board must feel smooth and clean before you move on. A flawless surface ensures the new fabric bonds tightly and looks professional.
Awọn gbigba bọtini:
- Clean thoroughly with a mild scrubber or rag.
- Never use a wire brush, even if you want to save time.
- A dan, clean board is the foundation for a perfect headliner.
You have now prepared your headliner board for a fresh start. Careful removal and cleaning set you up for a flawless installation and a inu ọkọ ayọkẹlẹ you can be proud of.
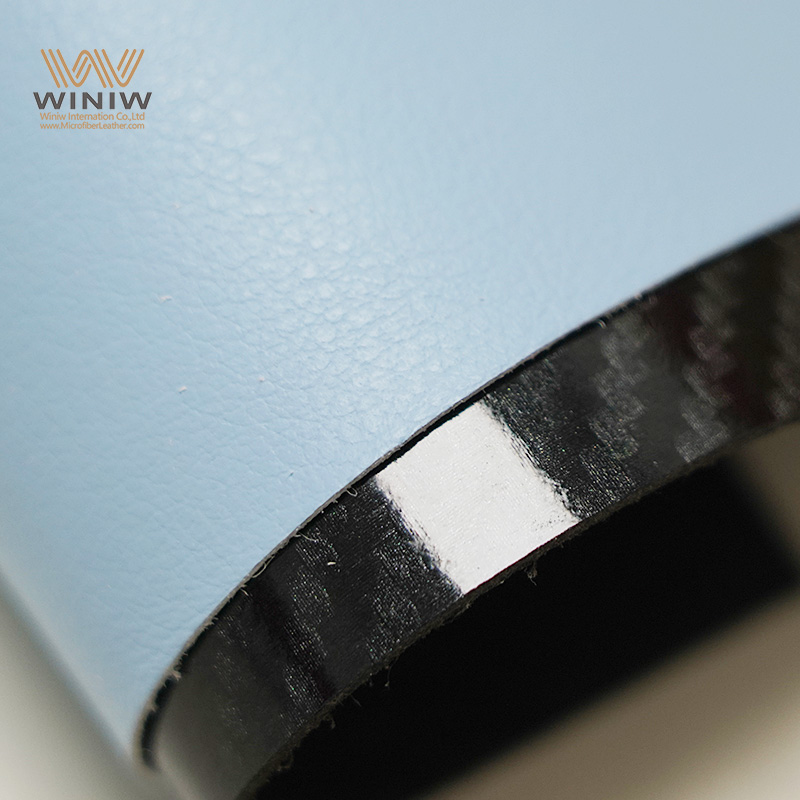
Install New Car Head Liners
Waye alemora
You have reached the most important step in your car headliner project. Applying adhesive correctly will make your car head liners look smooth and professional. Start by reading the instructions on your adhesive can. Shake the can well and test the spray on a piece of scrap material. This helps you get a feel for the spray pattern and coverage.
Work in a well-ventilated area. Lay the headliner board flat on a clean surface. Spray the adhesive evenly on the foam backing or directly onto the board, depending on your car headliner kit instructions. Do not try to cover the entire board at once. Dipo, work in small sections. This method gives you more control and helps you avoid mistakes.
Let the adhesive become tacky before you install new fabric. Nigbagbogbo, this takes a few minutes. If you press the fabric too soon, it may slide or bunch up. If you wait too long, the glue may lose its stickiness. Check the instructions for the best timing.
Imọran: Always smooth the fabric from the center outward. This technique pushes out air bubbles and prevents wrinkles. Ti o ba ri wrinkle tabi o ti nkuta, gently lift the fabric while the adhesive is still tacky and smooth it back down.
You want a strong bond that lasts for years. Gba akoko rẹ pẹlu igbesẹ yii. Rushing can lead to sagging or peeling, which means you would have to redo the job. Allow the adhesive to dry fully before you move on to the next step. This patience pays off with a flawless finish.
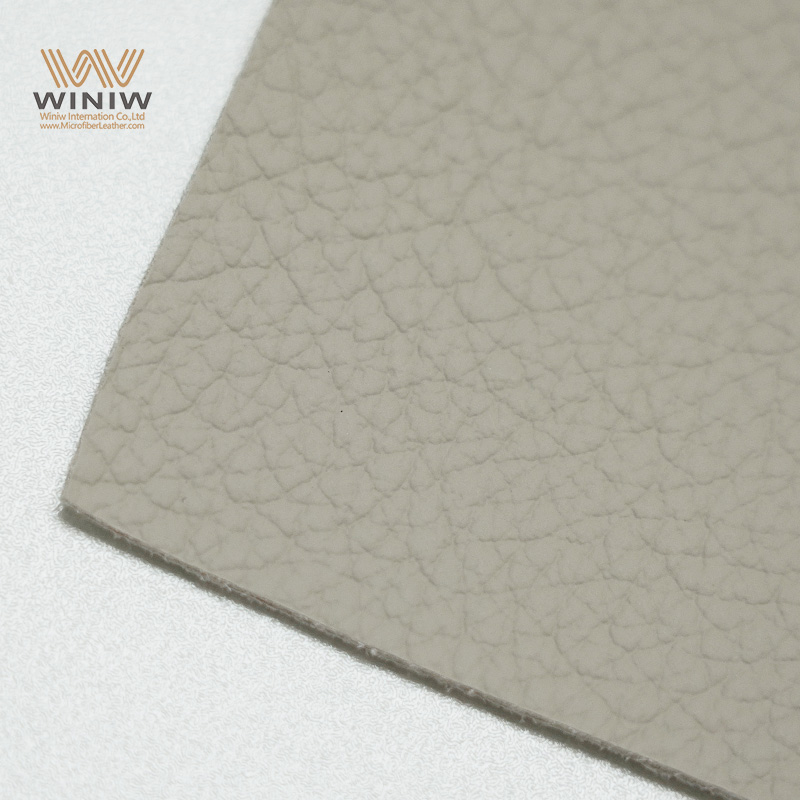
Stretch and Attach Fabric
Now you are ready to attach the fabric to your car head liner board. Start by laying the fabric over the board. Make sure you have extra material hanging over the edges. This extra fabric will help you get a tight fit and clean edges.
Begin in the center of the board. Press the fabric down firmly, then work your way out to the edges. Use your hands to stretch the fabric gently as you go. This method keeps the surface smooth and prevents sagging. If you notice any wrinkles, lift the fabric and reposition it while the adhesive is still tacky. Do not pull too hard, or you might stretch the fabric out of shape.
Akiyesi: Working in small sections gives you more control. You can focus on one area at a time and make sure each part looks perfect before moving on.
A car headliner replacement kit makes this process much easier. These kits include automotive-grade fabric pẹlu foomu Fifẹyinti. The foam backing helps the fabric stick evenly and gives your car head liners a soft, oju ti pari. You do not have to worry about matching materials or cutting the right size. The kit provides everything you need for a successful installation.
You also save money and time with a car headliner kit. The materials are lightweight and easy to handle. You can clean the finished surface with just a damp cloth. The fabric resists stains and fading, so your car headliner will look great for years.
When you finish attaching the fabric, trim the excess material around the edges. Use sharp scissors for a clean cut. Double-check that the fabric is smooth and tight across the entire board. Let the adhesive cure fully before you reinstall the board in your car.
Call to Action: Choose a car headliner kit for your next project. You will get professional results, save money, and enjoy a fresh, comfortable ride every time you get behind the wheel.
You have now completed the most challenging part of the installation. With careful work and the right materials, your car head liners will look as good as new.
Tun fi sori ẹrọ ati Pari
Replace Board and Trim
You have reached the final stage of your rirọpo headliner. Bayi, you need to reinstall the headliner board and all trim pieces. Follow these steps to secure everything and achieve a professional result:
- Lift the headliner board into position. Align it carefully with the roof frame.
- Secure the board using the original clips or fasteners. Press gently to avoid bending or cracking the board.
- Cut holes for dome lights, visors, ati awọn ẹya ẹrọ miiran. Use a sharp blade for clean edges.
- Reinstall all interior accessories, including lights, visors, ki o si mu awọn ọwọ.
- Snap the trim pieces back into place. Work slowly to avoid breaking any clips.
- Double-check that all screws and fasteners are tight.
Imọran: If you notice any small sagging areas after your replacement, use upholstery twist pins or spot spray adhesive for a quick fix. These solutions work well for minor issues and help you maintain a smooth finish.
Final Checks
Before you celebrate your successful replacement, take a few minutes for a thorough inspection. This step ensures your hard work pays off with a flawless look.
- Ṣayẹwo awọn headliner for wrinkles or loose spots. Smooth out any imperfections with your hands.
- Make sure the headliner sits securely against the frame. Press along the edges to confirm a tight fit.
- Inspect for any visible damage, awọn abawọn, tabi discoloration. Address these issues now to avoid future problems.
- Test all lights and accessories to confirm they work properly after the replacement.
A careful final check guarantees your replacement stands up to heat, ọriniinitutu, ati lilo ojoojumọ. You want your car interior to look and feel brand new. Take pride in your work and enjoy the comfort and style your replacement brings every time you drive.
You can refresh your car’s interior and save money by replacing the headliner yourself. Check out the cost difference:
| Iru iṣẹ | Iye owo DIY | Ọjọgbọn Iye owo |
|---|---|---|
| Atunkọ akọle | $30 – $80 | $200 – $600 |
Many car owners feel proud when their new headliner stays up, even in tough climates. If you face sagging or wrinkles, try twist pins or a foam-backed adhesive. Share your results or get advice from communities like Car Talk Community. Take pride in your work—you did it!
FAQ
How long does it take to replace a headliner?
You can replace a headliner in about two to four hours. If you use a headliner kit, you save time and avoid mistakes. You get a professional look without waiting days for a shop to finish your headliner.
Can I reuse my old headliner board?
You can reuse your old headliner board if it stays in good shape. Clean the board well before you install a new headliner. If your headliner board has cracks or bends, you should buy a replacement for the best results.
What causes a headliner to sag?
Ooru, ọriniinitutu, and age cause a headliner to sag. The glue holding your headliner fabric breaks down over time. You can prevent sagging by using a quality headliner kit and adhesive. Replace your headliner at the first sign of drooping.
Do I need special tools for a headliner replacement?
You do not need expensive tools for a headliner replacement. A screwdriver, mild scrubber, and sharp scissors work well. A headliner kit gives you everything you need. O gba kan dan, tight headliner without buying extra equipment.
How do I keep my new headliner looking fresh?
You keep your headliner looking fresh by cleaning it with a soft cloth and mild cleaner. Yẹra fun awọn kẹmika lile. Park in the shade to protect your headliner from sun damage. If you see stains, clean them right away to keep your headliner spotless.
🛠️ Imọran: Choose a headliner kit for easy installation and long-lasting results. You get a durable, stylish headliner that upgrades your car’s interior.