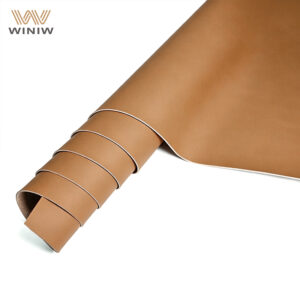
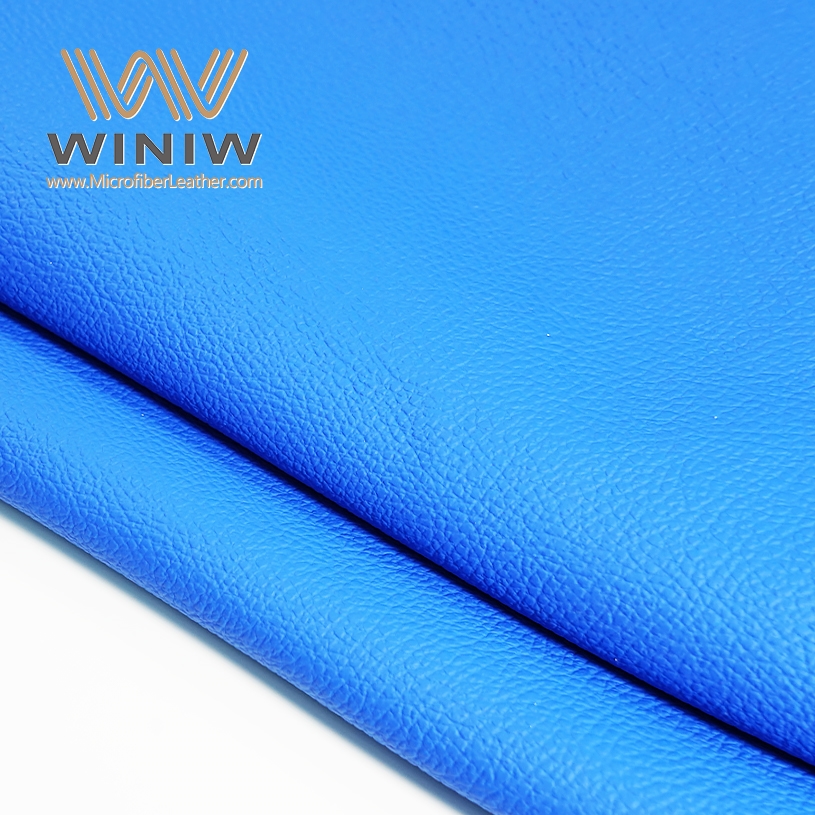
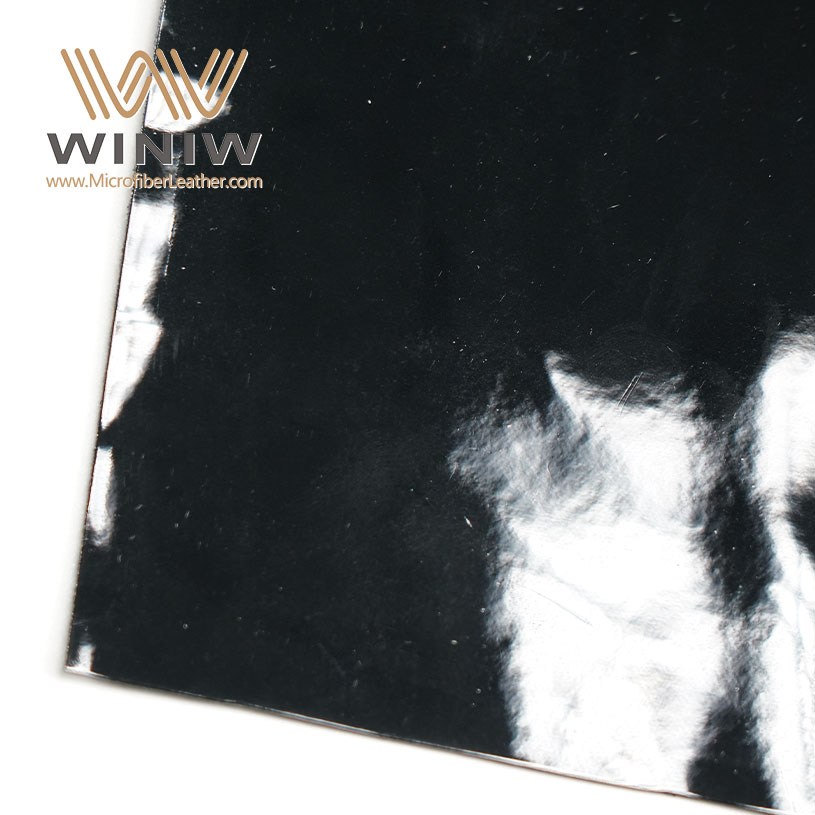
You can transform your car’s look with a diy suede auto headliner. Success depends on careful removal of the old liner, ukuhlanza ibhodi, and using quality suede with the right adhesive. Handle each step with care. Proper technique helps you avoid common mistakes and ensures a smooth, ukuqeda professional.
Umhlahlandlela wesinyathelo ngesinyathelo wokufaka i-suede auto headliner emotweni yakho
- Qoqa essential supplies like suede fabric, igwebu, and strong adhesive to ensure a successful installation.
- Carefully remove the old headliner and clean the board to create a smooth surface for the new suede.
- Take your time during installation to avoid wrinkles and ensure a professional finish that lasts.
Supplies and Tools for Headliner diy
Umthombo Wesithombe: ama-pexels
Headliner Supplies List
You need the right materials to achieve a professional finish with your diy headliner project. Suede and microsuede are popular choices for car interiors. True suede gives a rich look, but microsuede is more affordable and easier to maintain. Both require careful handling because their texture can be delicate. For extra comfort, use foam with a recommended thickness of 0.30 amayintshi. Choose a strong adhesive that can withstand heat and humidity inside your car. Automotive professionals often recommend 3M™ Headliner Adhesive for its reliable bond and heat resistance.
Ithiphu: Store suede in a cool, dark place and use breathable bags to prevent fading and moisture damage.
Here is a list of supplies you should gather:
- Suede or microsuede fabric
- Igwebu (0.30 inches thick, ongakhetha kukho ukunethezeka okwengeziwe)
- 3M™ Headliner Adhesive or similar high-heat contact cement
- Cleaning supplies such as Hot Shot Stain & Spot Lifter, amathawula we-microfiber, and a soft-bristle vacuum brush
Tools You’ll Need
The right tools make your diy headliner installation easier and safer. You will need:
- Screwdrivers for removing trim and panels
- Utility knife for cutting fabric and foam
- Brush or roller for applying adhesive
- Igiya lokuphepha: amagilavu, imikhono emide, eye protection, and proper ventilation
| Ithuluzi | Inhloso |
|---|---|
| Izikulufa | Remove interior panels and trim |
| Ummese Wokusetshenziswa | Cut fabric and foam cleanly |
| Brush/Roller | Spread adhesive evenly |
| Gloves/Eye Protection | Protect skin and eyes from chemicals |
Cleaning the board before installation is important. Use a soft-bristle brush and interior cleaner to remove dirt and old adhesive. This step helps the new headliner bond securely and look smooth.
Suede Auto Headliner Installation Steps
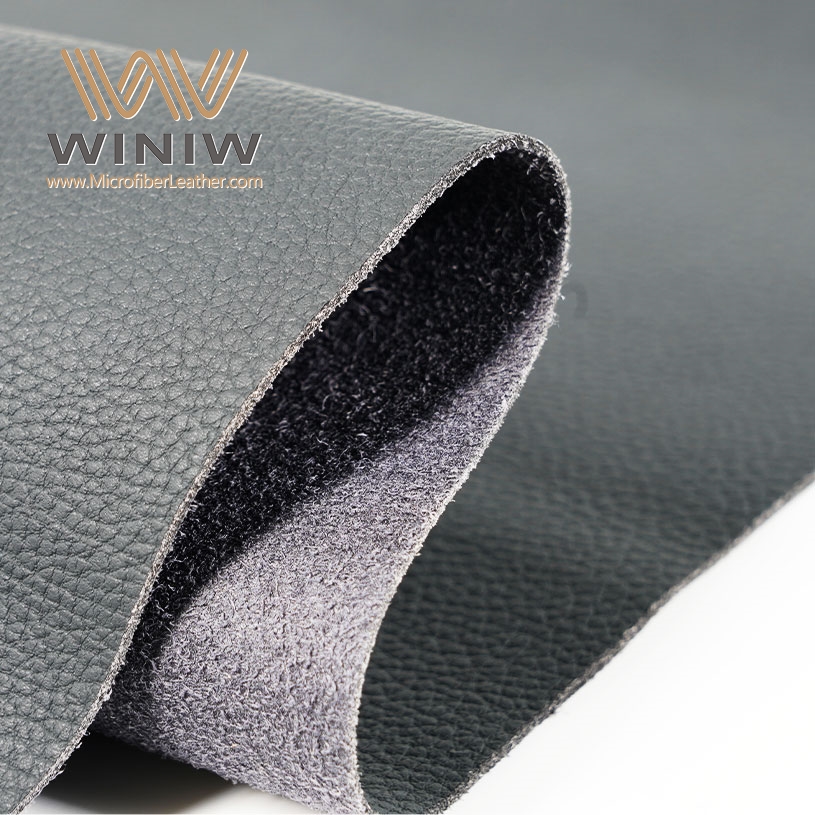
Susa Isihloko Esidala
Begin your diy project by removing the old headliner from your car. Start by taking out all trim pieces, ama-visors, izibani zedome, and any other attachments that hold the headliner board in place. Use a screwdriver to avoid damaging the interior. Gently lower the board and slide it out of the vehicle. Carefully peel off the old fabric. If your car uses a foam-backed headliner, expect some residue to remain. Use a soft-bristle brush and a vacuum to clean the board thoroughly. Removing all old foam and adhesive ensures the new suede auto headliner will bond well and look smooth.
Ithiphu: Document any wire connections before you disconnect them. This step helps you reconnect everything correctly during reinstallation.
Prep the Board
Hlola ibhodi le-headliner ukuze uthole imifantu noma izindawo ezibuthakathaka. Uma uthola umonakalo, reinforce the area with thin hardboard or dense foam core board. Clean the surface again with a gentle cleaner to remove dust and oils. Lay the board on a flat surface. If you plan to add foam for extra comfort, cut it to size and glue it to the board first. Make sure the foam sits flat and covers the entire area. Allow it to dry before moving to the next step.
Apply Suede and Adhesive
Lay your suede fabric flat over the headliner board. Choose a fabric that cuts and shapes easily. Cut the suede, leaving a few extra inches on all sides for wrapping. Mark any mounting points or holes before you start gluing. Apply adhesive to both the board and the back of the suede. Wait for the adhesive to become tacky. Begin with the flattest area of the board. Fold the suede in half and press it onto a small section, about half the length of the board. Unfold the fabric and allow some cure time. Fold the suede in the opposite direction and repeat the process. Okwamajika aqinile, apply adhesive to smaller areas and use relief cuts to help the fabric wrap smoothly.
- Work in sections to manage the fabric better.
- Keep the suede taut as you press it down to avoid wrinkles.
- Okwezindawo ezigobile, an extra set of hands can help you handle the fabric.
- If you use black suede, check for lint or dust before pressing it down.
Qaphela: Once you press the suede auto headliner into place, you cannot adjust it. Take your time and align the fabric carefully.
Faka kabusha i-Headliner
After the adhesive cures, trim any excess fabric, leaving a small border for wrapping around the edges. Cut out holes for lights, ama-visors, and other attachments. Carefully lift the headliner board and slide it back into your car. Namathisela kabusha zonke izingcezu zokunquma, ama-visors, and lights. If you notice any fit issues, such as the headliner popping out, pull back the rubber seal and reinsert the board. Make sure the headliner sits snugly against the roof. Inspect the installation for loose spots or gaps.
Tips and Common Mistakes
Avoid common mistakes to ensure your diy suede auto headliner lasts:
- Park your car in shaded areas to prevent heat from weakening the adhesive.
- Regularly check seals to keep moisture out and protect the headliner.
- Use gentle fabric cleaners and avoid harsh chemicals on suede.
- Create a template before cutting to ensure accurate measurements.
- Always apply adhesive to both the board and the fabric, letting it get tacky before pressing them together.
- Start applying the fabric from the center and work outward.
- Inspect your work for loose spots or bubbles.
- Replace old backing with a sturdy material if needed for durability.
- Do not rush the process. Quick fixes often lead to poor results.
If you see wrinkles or bubbles after installation, use a heat gun or steamer to relax the fibers and smooth out minor imperfections. For persistent wrinkles, clean the area and reapply adhesive before reinstalling the fabric.
| Uhlobo Lwezinamathiselo | Kuhle kakhulu | Amanothi |
|---|---|---|
| 3M | Ipulasitiki, Izinsimbi, Igwebu | Isibopho esiqinile, imelana nokuwohloka |
| Permatex | Rubber, Izindwangu | Prevents delamination in humidity |
A well-installed suede auto headliner can transform your car’s interior. Take your time with each step for a professional finish that lasts.
Upgrading your car with a ingubo ye-suede inikeza isitayela, induduzo, kanye nokuqina. You enjoy a quieter ride and a personalized look. To keep your headliner in top condition, use a soft cloth, vacuum gently, futhi ugweme amakhemikhali anokhahlo. Ngokunakekela okufanele, suede headliners last 8–15 years.
| Uhlobo Lwezinto | Isikhathi Sokuphila Ngaphansi Kwezimo Ezivamile |
|---|---|
| I-Suede / I-Microsuede | 8- iminyaka engu-15 |
FAQ
How do you clean a suede auto headliner?
Use a soft brush or vacuum with a gentle attachment. Gwema amanzi namakhemikhali anokhahlo. Spot clean with a suede-safe cleaner for best results.
Ungakwazi yini ukufaka i-headliner ye-suede ngaphandle kokukhipha ibhodi?
You must remove the board for a smooth, ukuqeda professional. Installing fabric inside the car leads to wrinkles and poor adhesion.
What adhesive works best for suede headliners?
| Uhlobo Lwezinamathiselo | Izinzuzo |
|---|---|
| 3I-M Headliner | Iqinile, ukumelana nokushisa |
| Permatex | Kuyavumelana nezimo, ukumelana nomswakama |
Choose one that suits your climate and imoto ingaphakathi.