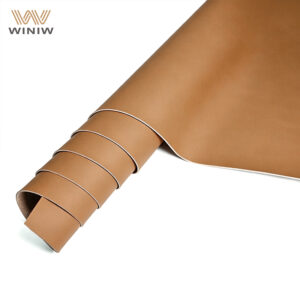
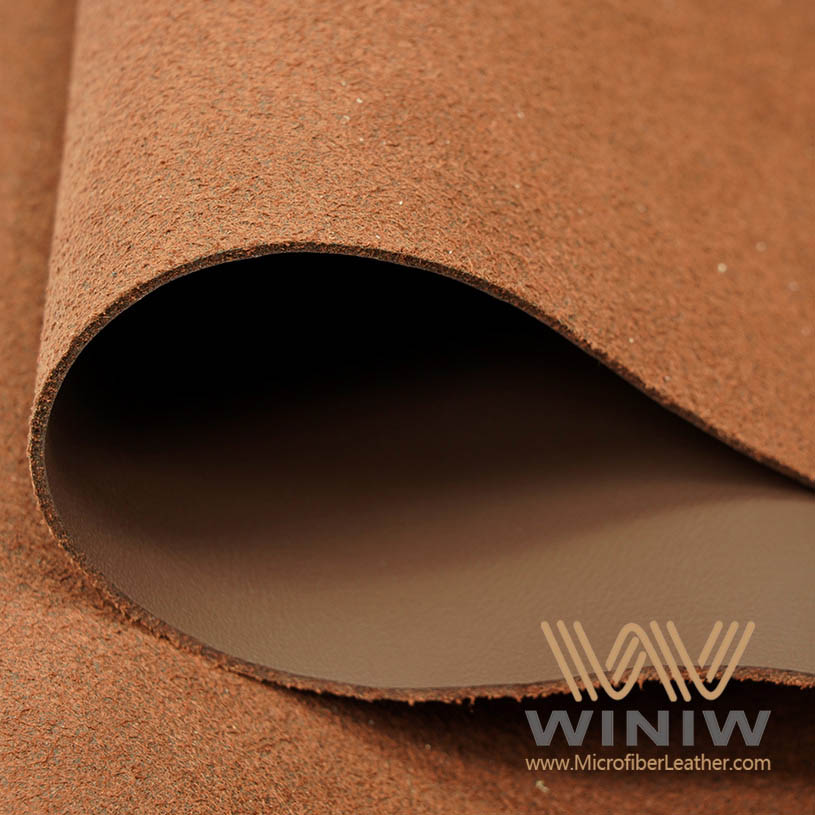
You can transform your car’s interior with a Faux Suede Headliner in just one afternoon. Pay attention to details, as improper cleaning or glue residue may cause bubbling or poor adhesion:
- Glue residue left behind
- Inadequate cleaning of old foam
- Bubbling in corners
| Benefit | Description |
|---|---|
| Eco-friendly manufacturing | Faux suede avoids harmful chemicals, reducing environmental impact. |
| Recyclability | The material is recyclable, supporting sustainability. |
| Absence of animal products | Faux suede contains no animal-derived materials, aligning with ethical practices. |
Key Takeaways
- Transform your car’s interior with a faux suede headliner in just one afternoon. Attention to detail ensures a professional finish.
- Gather essential materials like high-quality faux suede fabric and strong adhesive. Proper preparation prevents mistakes during installation.
- Follow a step-by-step process: remove the old headliner, prep the board, cut and fit the fabric, apply adhesive, and reinstall the headliner. Patience leads to the best results.
Faux Suede Headliner Tools and Materials
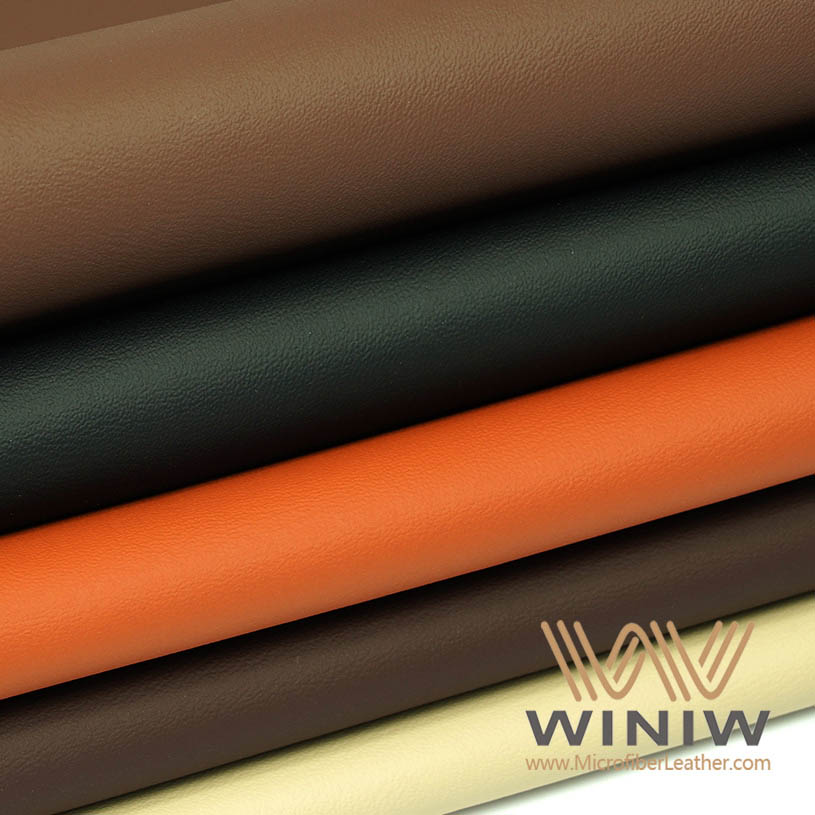
Before you start your Faux Suede Headliner project, you need to gather the right materials and tools. Having everything ready will help you work efficiently and avoid mistakes.
Essential Materials
You need a few key materials to achieve a professional look. Choose high-quality faux suede fabric. Two yards usually cover most car headliners. If your original headliner board has damage, consider buying a new one. Use a strong adhesive like 3M™ Headliner Adhesive. This glue resists moisture and keeps the fabric in place for years. You also need a microfiber cloth to clean surfaces and remove dust before you apply the new material.
Tip: Always test your adhesive on a small piece of fabric first. This step helps you avoid staining or damaging your Faux Suede Headliner.
Recommended Tools
Professionals use specific tools to make the installation process smooth. You can find most of these in a basic tool kit. The table below lists the most useful tools and their purposes:
| Tool/Material | Description |
|---|---|
| Flathead screwdriver | Removes trim and accessories |
| Phillips screwdriver | Removes screws from sun visors and handles |
| Socket wrench set | Loosens bolts holding the headliner |
| Utility knife/scissors | Cuts suede fabric to size |
| Stiff brush/vacuum | Cleans old foam and debris |
| Microfiber cloth | Wipes surfaces clean |
| 3M™ Headliner Adhesive | Bonds suede to headliner; moisture-resistant |
| Faux suede fabric | Covers most car headliners |
| New headliner board | Optional, for damaged originals |
You can complete your Faux Suede Headliner project with these tools and materials. Preparation ensures a smooth installation and a long-lasting result.
Install Faux Suede Headliner Step-by-Step
Remove Old Headliner
Start by removing all interior trim pieces that hold the headliner in place. Use a flathead or Phillips screwdriver to take out visor clips, dome lights, and handles. Keep all screws and small parts in a container so you do not lose them. Next, loosen the side trim panels and gently lower the headliner board. Slide the board out through the front or rear door, depending on your vehicle’s design. Carefully peel away the old fabric. Scrape off any remaining foam with a stiff brush, making sure not to damage the board. This step is crucial for a smooth finish when you install your new Faux Suede Headliner.
Tip: Take photos during disassembly. These will help you remember where each piece goes during reinstallation.
Prep the Headliner Board
Inspect the headliner board for cracks or weak spots. If you find damage, repair it with a lightweight filler or replace the board. Sand the surface lightly to remove any stubborn foam or adhesive. Wipe the board with a microfiber cloth to remove dust and debris. A clean, smooth surface ensures the adhesive bonds well and prevents bubbles or peeling later.
Cut and Fit Faux Suede
Lay the headliner board flat on a clean workspace. Measure the length and width at the widest points. Add 2 to 3 inches on each side to allow for wrapping the fabric around the edges. Double-check your measurements and write them down. For complex shapes, use kraft paper or an old sheet to make a template. Place the template or the board on the back of your faux suede fabric. Use a sharp utility knife or heavy-duty scissors to cut the material, keeping your hand steady for clean edges. Mark openings for lights or handles, but do not cut them out yet.
Note: Accurate measuring and cutting prevent waste and ensure your Faux Suede Headliner fits perfectly.
Apply Adhesive and Attach Fabric
Choose a high-quality adhesive, such as 3M Headliner Adhesive or DAP Weldwood HHR Contact Cement. These adhesives provide strong bonds and resist heat and moisture. Spray adhesive on both the board and the back of the fabric. Wait until the adhesive becomes tacky. Start attaching the fabric from the center of the board, smoothing outward with your hands or a plastic card. Work in small sections to keep the fabric taut and avoid wrinkles. Stretch the fabric gently around curves and edges. Trim excess material after the main surface is covered. Cut out holes for lights and handles only after the fabric is secure.
| Adhesive Type | Benefits |
|---|---|
| 3M Headliner Adhesive | Strong bond, resists heat and moisture |
| DAP Weldwood HHR Contact Cement | Excellent heat resistance, long-lasting bond |
Caution: Once the fabric touches the adhesive, repositioning is difficult. Align carefully before pressing down.
Reinstall Headliner Board
Lift the finished headliner board back into your car. Align it with the roof and secure it with the original trim pieces. Reconnect electrical components, such as dome lights and sunroof controls, if present. Take extra care with delicate connectors and label them if needed. Smooth the fabric around curves and check for a snug fit, especially near sunroofs or complex roof shapes.
| Challenge | Solution |
|---|---|
| Curved roof design | Smooth material slowly and carefully |
| Delicate electrical connectors | Label and handle with care |
| Fit around sunroof frame | Pay close attention during removal and install |
Pro Tips for a Smooth Finish
- Work slowly and in sections, especially around corners and curves.
- Always start smoothing the fabric from the center and move outward.
- Use a heat gun or steamer on low to relax the fabric and remove stubborn wrinkles.
- If you see bubbles, lift the fabric gently and reapply adhesive if needed.
- Leave a small border of fabric around the edges to allow for shrinkage.
- Double-check all trim and electrical connections before finishing.
Remember: Patience and attention to detail make your Faux Suede Headliner look professional and last for years.
You can upgrade your car’s interior with a faux suede headliner in just one afternoon. Careful work gives you a professional finish.
Attention to detail makes a big difference.
- Take your time and enjoy the process.
- Share your results or ask questions below to help others.

FAQ
How long does it take to install a faux suede headliner?
You can finish the installation in about 3 to 5 hours. Take your time for best results. Rushing may cause mistakes.
Can you clean faux suede headliners easily?
You can clean faux suede with a soft brush or vacuum. For stains, use a damp microfiber cloth. Avoid harsh chemicals.
What adhesive works best for faux suede headliners?
| Adhesive Type | Recommended Use |
|---|---|
| 3M Headliner Adhesive | Most vehicles |
| DAP Weldwood HHR | High heat environments |
Choose a high-quality spray adhesive for a strong, lasting bond.